
Building a custom computer from parts to operating system can be a fair amount of work, but highly rewarding. It enables the computer to be built much better for the price, and in turn you can get much better performance.
Previous Build
About four years ago, I decided to build a customized PC (my previous build). Not specifically for gaming, but for general personal use. My budget was “as much as I could get for $900.” I found a few parts from eBay, newegg.com, and some scrapped pieces laying around my house.
I ended up with:
- Intel Core i7-2600 Sandy Bridge Quad-Core 3.4GHz (3.8GHz Turbo Boost) LGA 1155 95W Desktop Processor Intel HD Graphics 2000
- Intel LGA 1155 Intel H67 HDMI SATA 6Gb/s USB 3.0 ATX Intel Motherboard
- HyperX 8GB (4 x 2GB) 240-Pin DDR3 SDRAM DDR3 1333
- GeForce 9600 GT
- Cooler Master GX – 650W Power Supply with 80 PLUS Bronze Certification
As some of you may remember, the Intel mother boards were recalled. I decided to keep it, as it wasn’t that big of a deal for what I was using the computer for. However, a “big deal” occurred when I was attempting to plug in my hard drive. Apparently, some wires on the Cooler Master were crossed and it caught fire (I later confirmed upon inspection).
(Here’s some poorly made visual)

Although half of my motherboard was melted, many of my power supply wires were melted, and graphics card needed to be replaced, I decided to use my build (even though only one SATA port was useable). After four years of half a mother board, it was time to upgrade.
This time, I decided to do a write up and upgrade my budget!
Step #0: Build Goals
The first step in building a custom PC is creating a set of goals for your computer. I decided I wanted a computer which could manage:
- Multiple virtual machines (VMs)
- Gaming
- Some graphic design
- Software development
- An Oculus headset
With some goals in mind, finding the appropriate parts and software becomes much more straight forward as you can build to the specifications.
For example, because I had specifications I knew I needed:
- A high volume of RAM
- A good graphics card
- A fair amount of processing power
- Moderate amount of hard drive space
In other words, this build might be slightly expensive, but it will be a heck of a PC (when complete).
Step #1: Selecting Operating System
The next step is deciding what operating system you wish to run, then buying parts.In my case, I decided I wanted to run a Linux build, preferably Debian or Arch Linux. I therefore needed to ensure every component of the computer would be compatible with Linux.
Believe it or not, even in 2015 many computer components are not compatible with Linux, especially graphics and network cards.
Step #2: Motherboard and Processor
After deciding on the operating system, you can being selecting components. When selecting components, the first components that should be selected is the motherboard and processor. The motherboard you select will (more-or-less) determine the entire computer build, hence it should usually one of the most researched components.
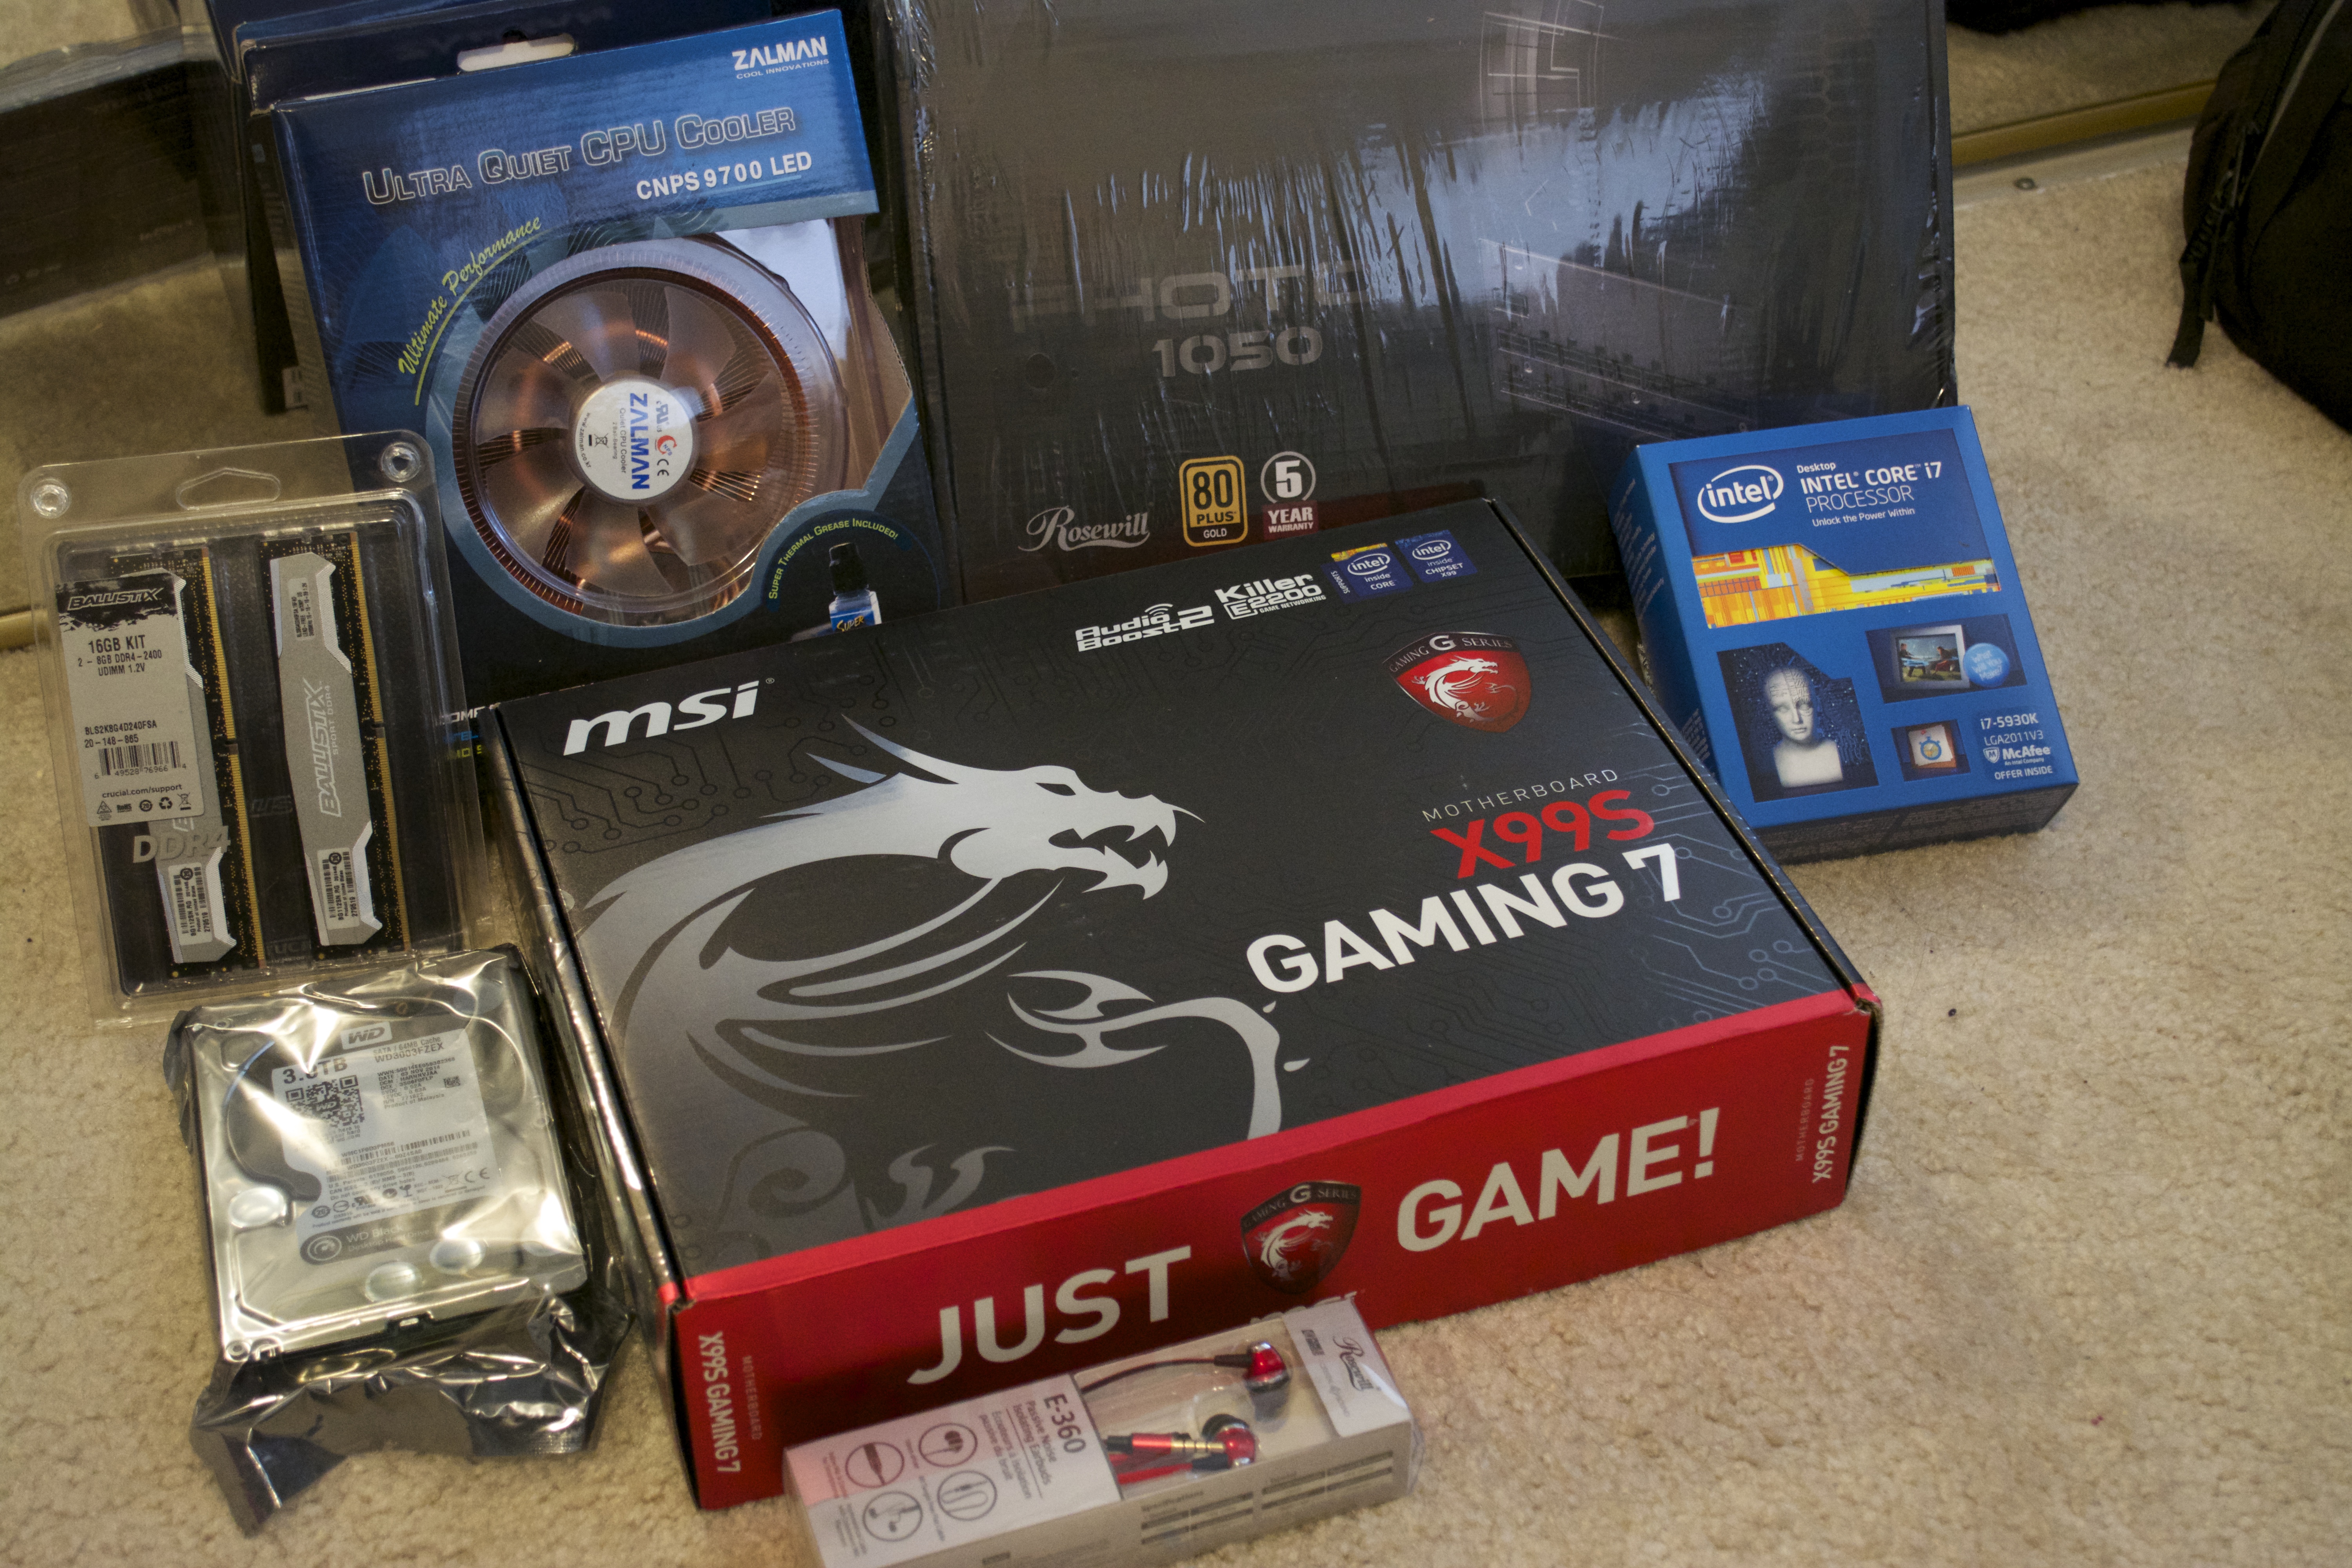
In my case, I went with:
- Motherboard: MSI X99S Gaming 7 LGA 2011-v3 Intel X99 SATA 6Gb/s USB 3.0 ATX Intel Motherboard
- Processor: Intel Core i7-5930K Haswell-E 6-Core 3.5GHz LGA 2011-v3 140W Desktop Processor
The motherboard connects the processor with all of the external components, so we now have an idea of what other components we can add to our build.
The motherboard I selected was very expandable:
- 8x DDR4 Slots: 3333(OC) / 3110(OC) / 3000(OC) / 2750(OC) / 2666(OC) / 2600(OC) / 2400(OC) / 2200(OC) / 2133
- 4 x PCIe 3.0 x16 slots
- 10 (*2x ports reserved for SATA Express)
- LAN Chipset: Qualcomm Killer E2205
- 8x USB 3.0
- 2x USB 2.0
- Form Factor: ATX
Unfortunately, the Qualcomm chipset was not very well supported by the Debian (Linux) operating system, however after some research I found a way I could backport to make it work:
- Download debian 3.17 backports[1]
- $ cd into backport folder
- $ make defconfig-alx
- $ make
- $ make install
Note, I found this fix prior to purchase to ensure I knew it was possible to fix, and in turn worth the purchase.
Everything else on the motherboard seemed perfect, a max 128Gb of possible RAM, plenty of ports for graphics cards, and more than enough SATA ports. The only drawback was that form factor was a bit large, so this will require a full-tower.

The processor I had was a middle of the road newest chip on the market from Intel. The max version had 8 cores, mine had 6 cores, but was half the price (score one for budget).
Step #3: RAM and Power
Since, I was going to be using my computer to game and wanted to run multiple VMs, I needed a lot of RAM. Clearly, my motherboard could pretty much handle as much RAM as I could afford. I decided that 32Gb of DDR4 would likely be more than enough for now.
You may ask, how did I come up with that number. Well, here’s what I knew:
- Oculus developer stations have 16Gb of DDR3 RAM
- VMs bottleneck is mostly RAM
- 2Gb per VM is minimum for medium quality Windows 7 VM
- I plan to run 1 – 4 VMs
32Gb ensures that I have double the current Oculus developer workstations RAM (though not graphic card RAM), and that I have more than enough RAM for VMs. I therefore purchased:
- RAM: 2x Crucial Ballistix Sport 16GB (2 x 8GB) 288-Pin DDR4 2400
- Power Supply: Rosewill PHOTON 1050W Continuous @40°C, 80 PLUS Gold Certified
Providing me with plenty of power, and memory. It should be noted, it was cheaper buying 2x Crucial Ballistix Sport 16GB (2 x 8GB) than buying Crucial Ballistix Sport 32GB (4 x 8GB), for what ever reason.

Given my motherboard it should be easy to double my RAM in the future if need be, hopefully when the prices drop significantly and an upgrade is actually required.
Step #4: SSD & Hard Drive
Once the CPU, motherboard, memory, and power supply has been selected, determining the amount of hard drive space was the next priority. Based on my priorities, hard drive space was not a priority, however speed was important. I therefore decided on a mixed SSD-Hard Drive system:
- SSD: 250Gb SAMSUNG 850 EVO-Series
- Hard Drive: 2x WD Black Series 3TB 7200 RPM 64MB Cache SATA 6.0Gb/s
Overall, this was way more than I probably needed. However, I recently bought a camera (new years) and have already filled ~50Gb of hard drive space. I will install the operating system on the 250Gb SSD, for quicker access. Then use the hard drives for long term data storage, both should be plenty fast enough, but the SSD is significantly faster than the hard drives. Thus, using it to store the operating system and other files for quick access, similar to a cache is usually a good idea.
Both the SSD and hard drives should be much faster than my previous build and have about 6x my previous capacity, all while being just as cheap as my previous build.
Step #5: Graphics Card
One of the last items to purchase is the graphics card. They are easy to replace, and usually one of the most expensive components of a computer build.
In my case, I had purchased a GTX 750 Ti a few months prior:
- (Alt) Graphics Card: EVGA GeForce GTX 750 2GB 128-Bit GDDR5
I decided to switch it to my dedicated Windows 7 PC, which manages some of my dedicated windows software for now.
Therefore, I purchased:
- Graphics Card: EVGA GeForce GTX 970 4GB 256-Bit GDDR5
The reasoning behind this, is that the GTX 970 works well on linux, and seems to have plenty of support[2].
This was a very expensive purchase, however I feel well worth it. I would like to use it for the Oculus and multiscreen displays. This graphics card should last me several years, as my previous build (prior to the GTX 750) used a 6 year old graphics card borrowed from a friend.
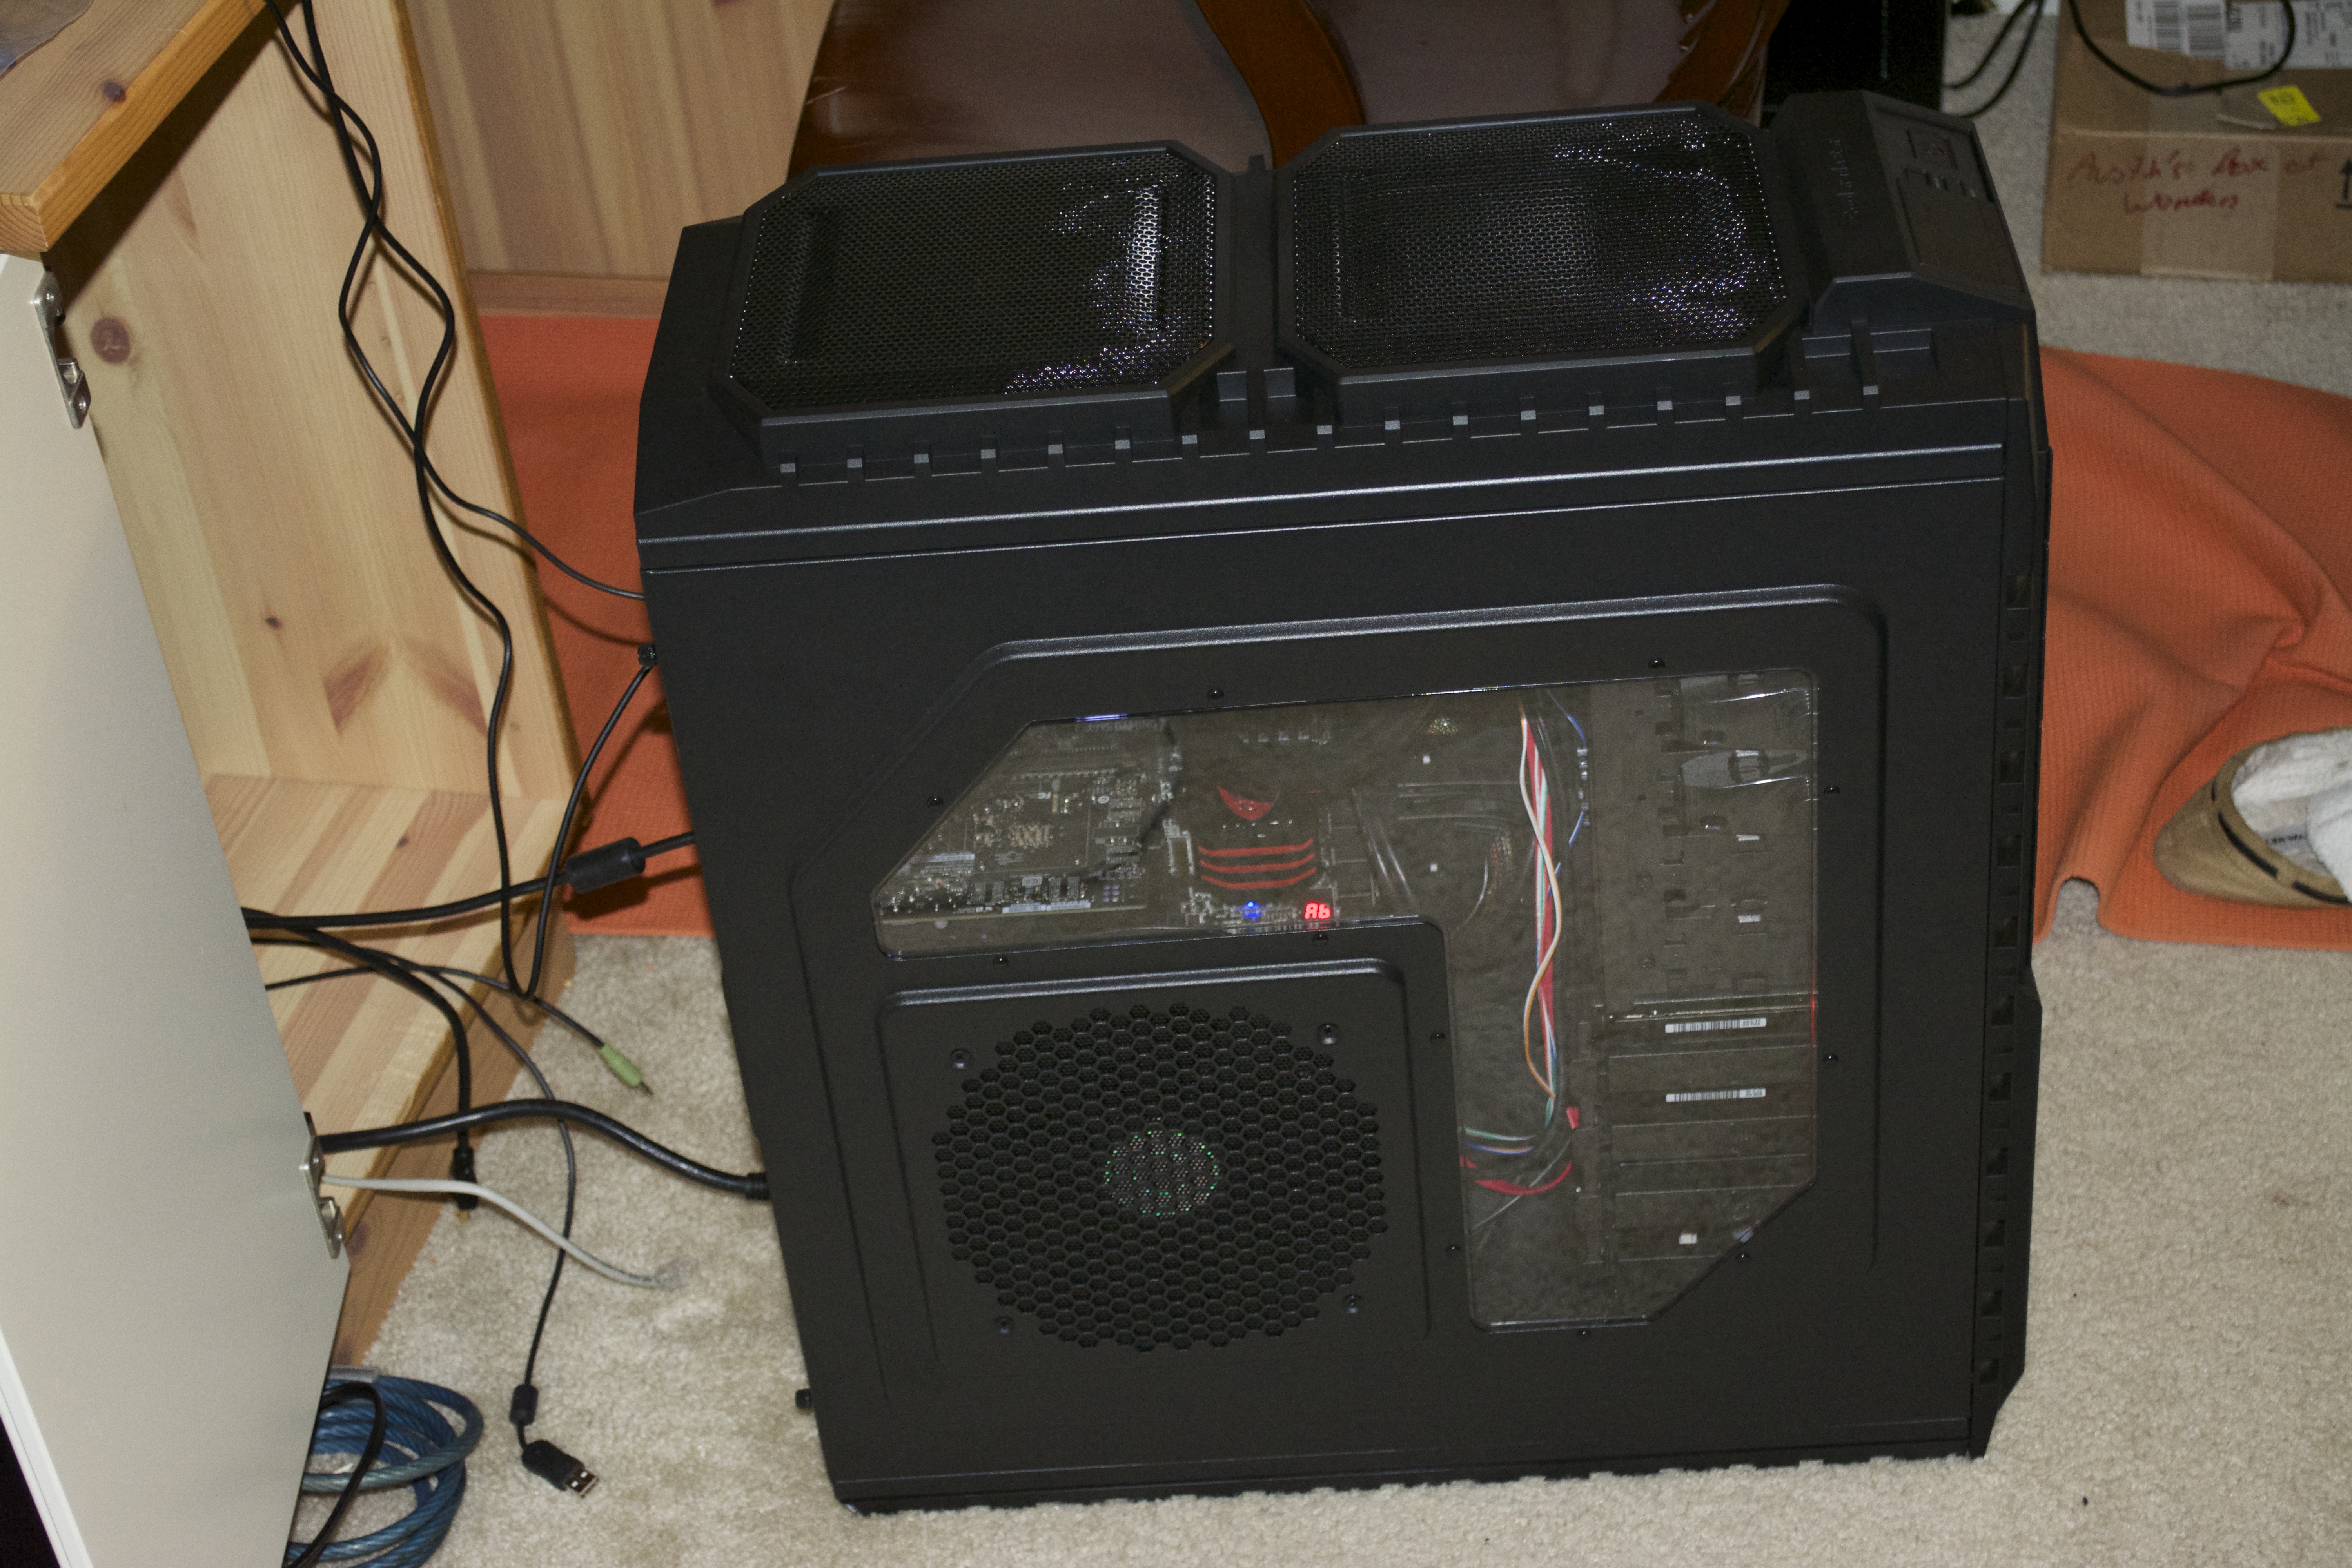
Step #6: Case and Cooling
The final component to purchase, is the computer case. The computer case usually is one of the least expensive pieces. However, in this case it was a fairly expensive piece. The case I needed was a full ATX tower, this can run anywhere between $180 – $500.
Personally, I decided on:
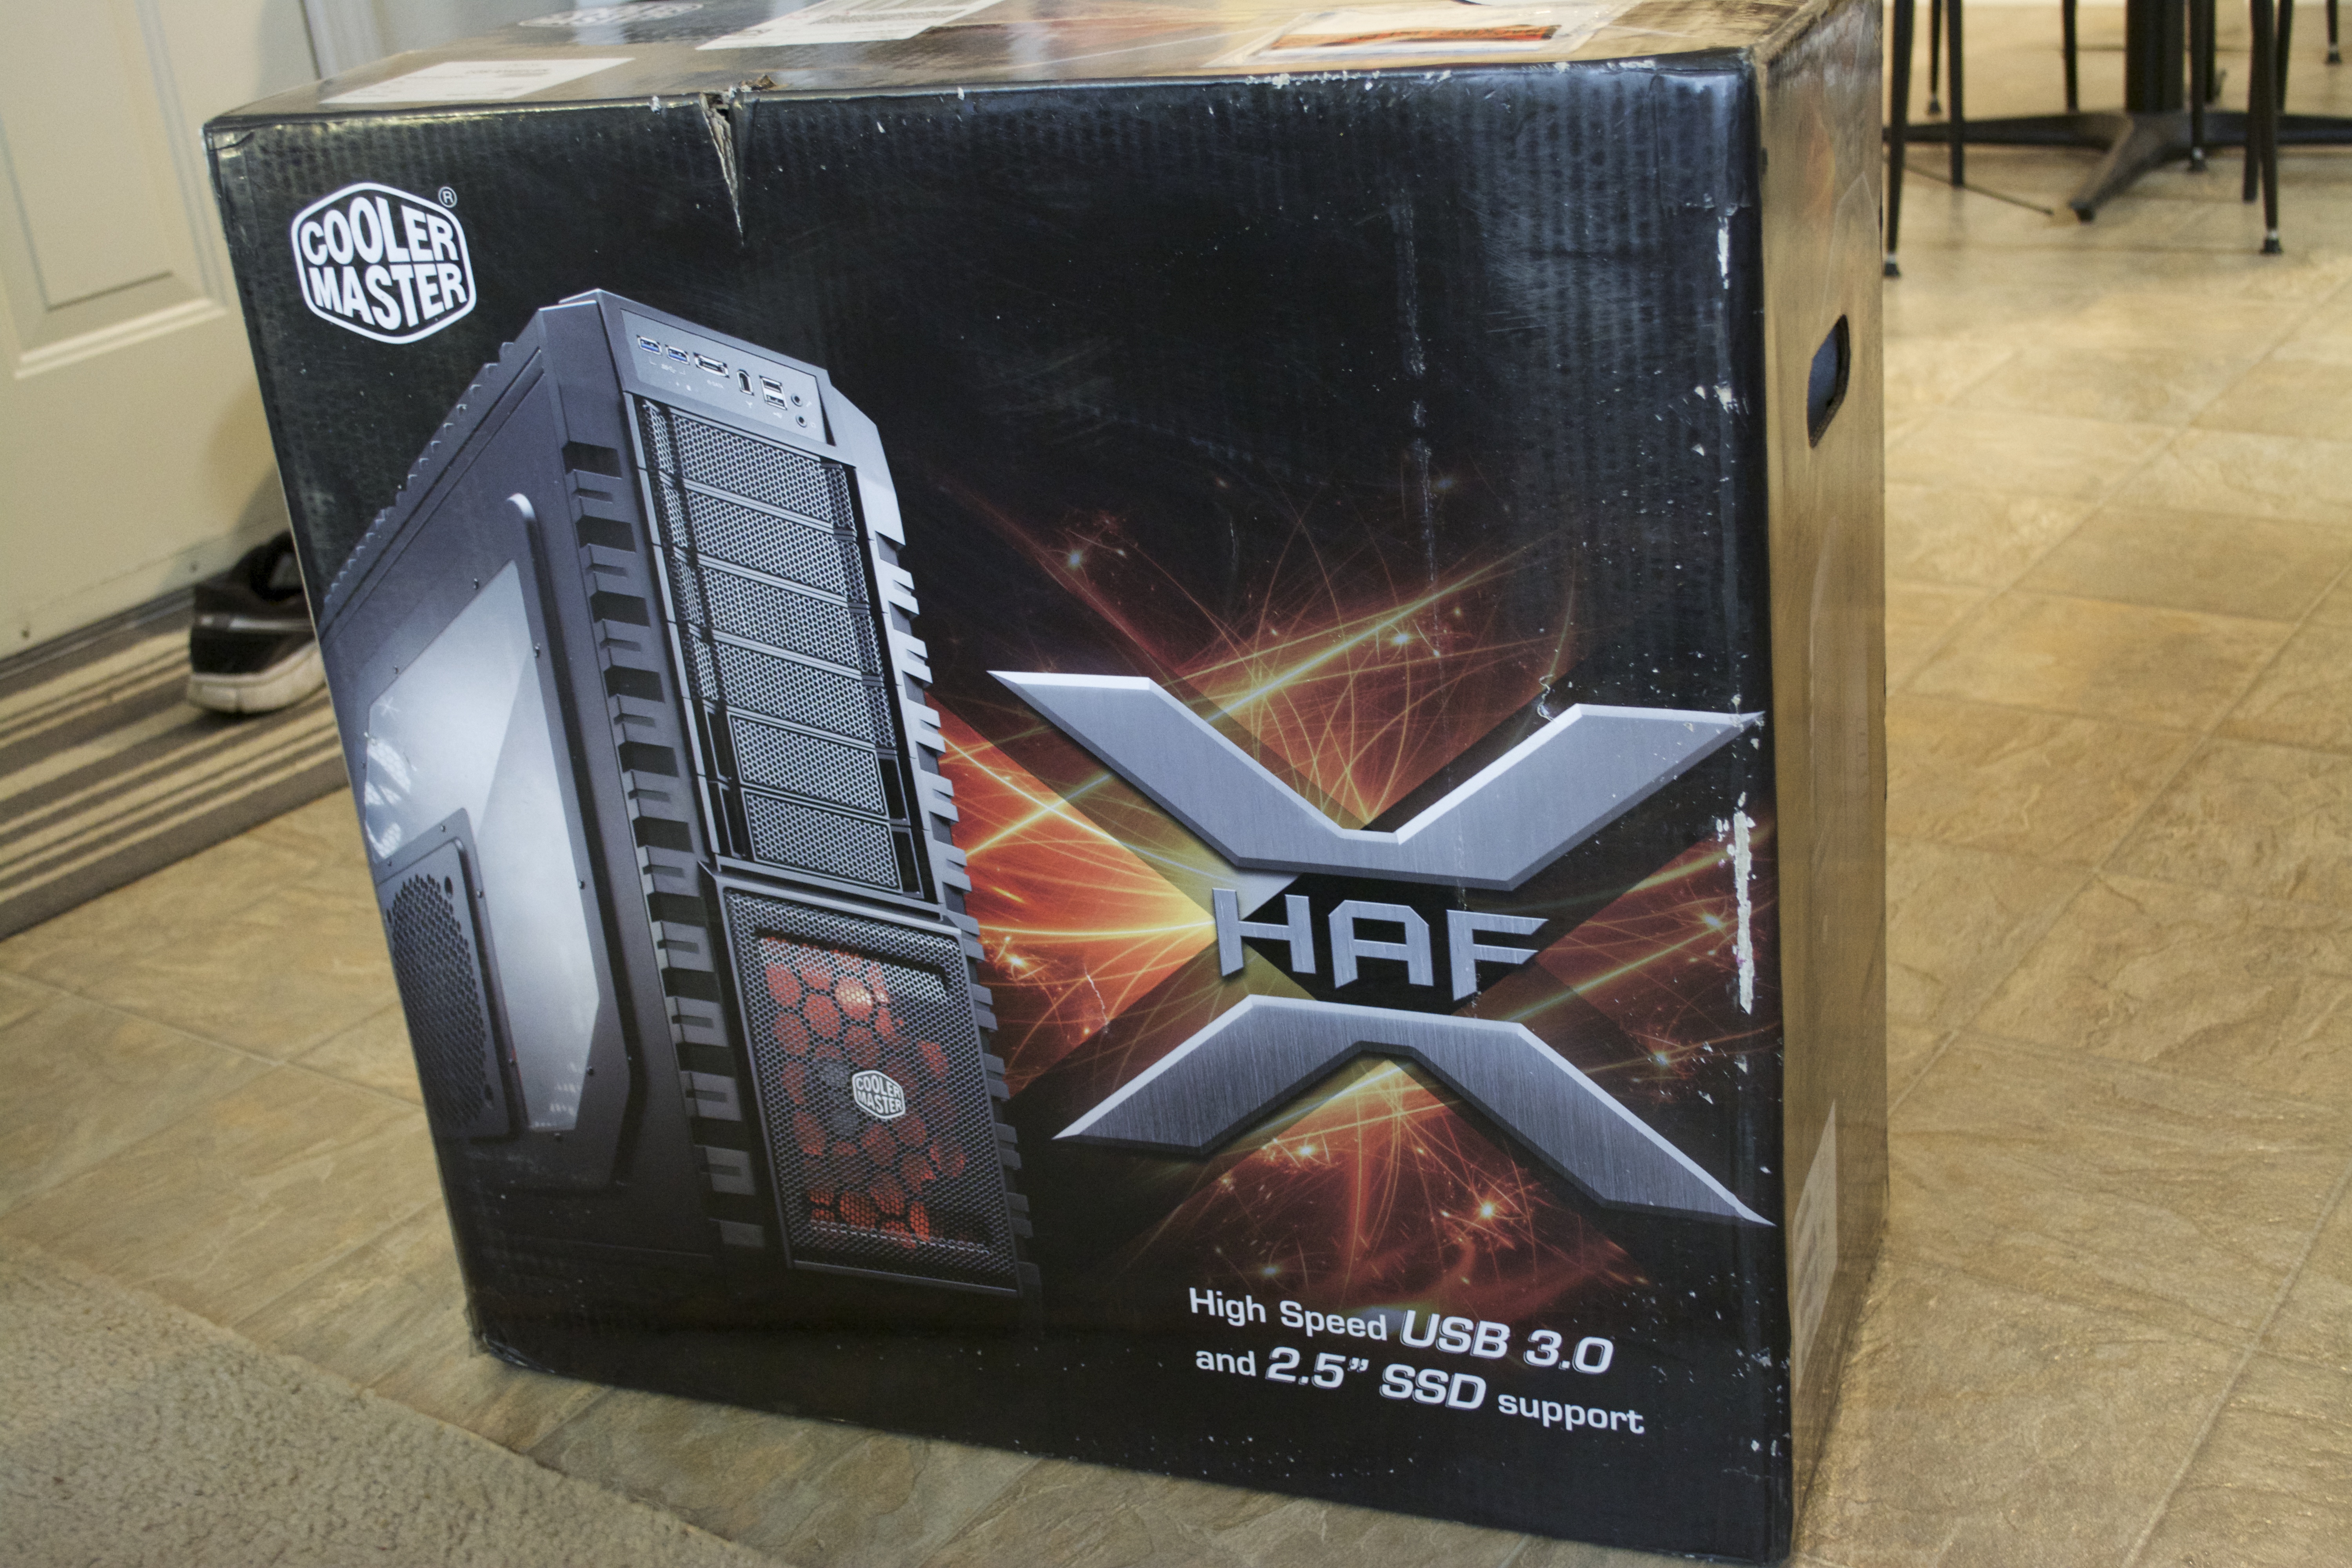
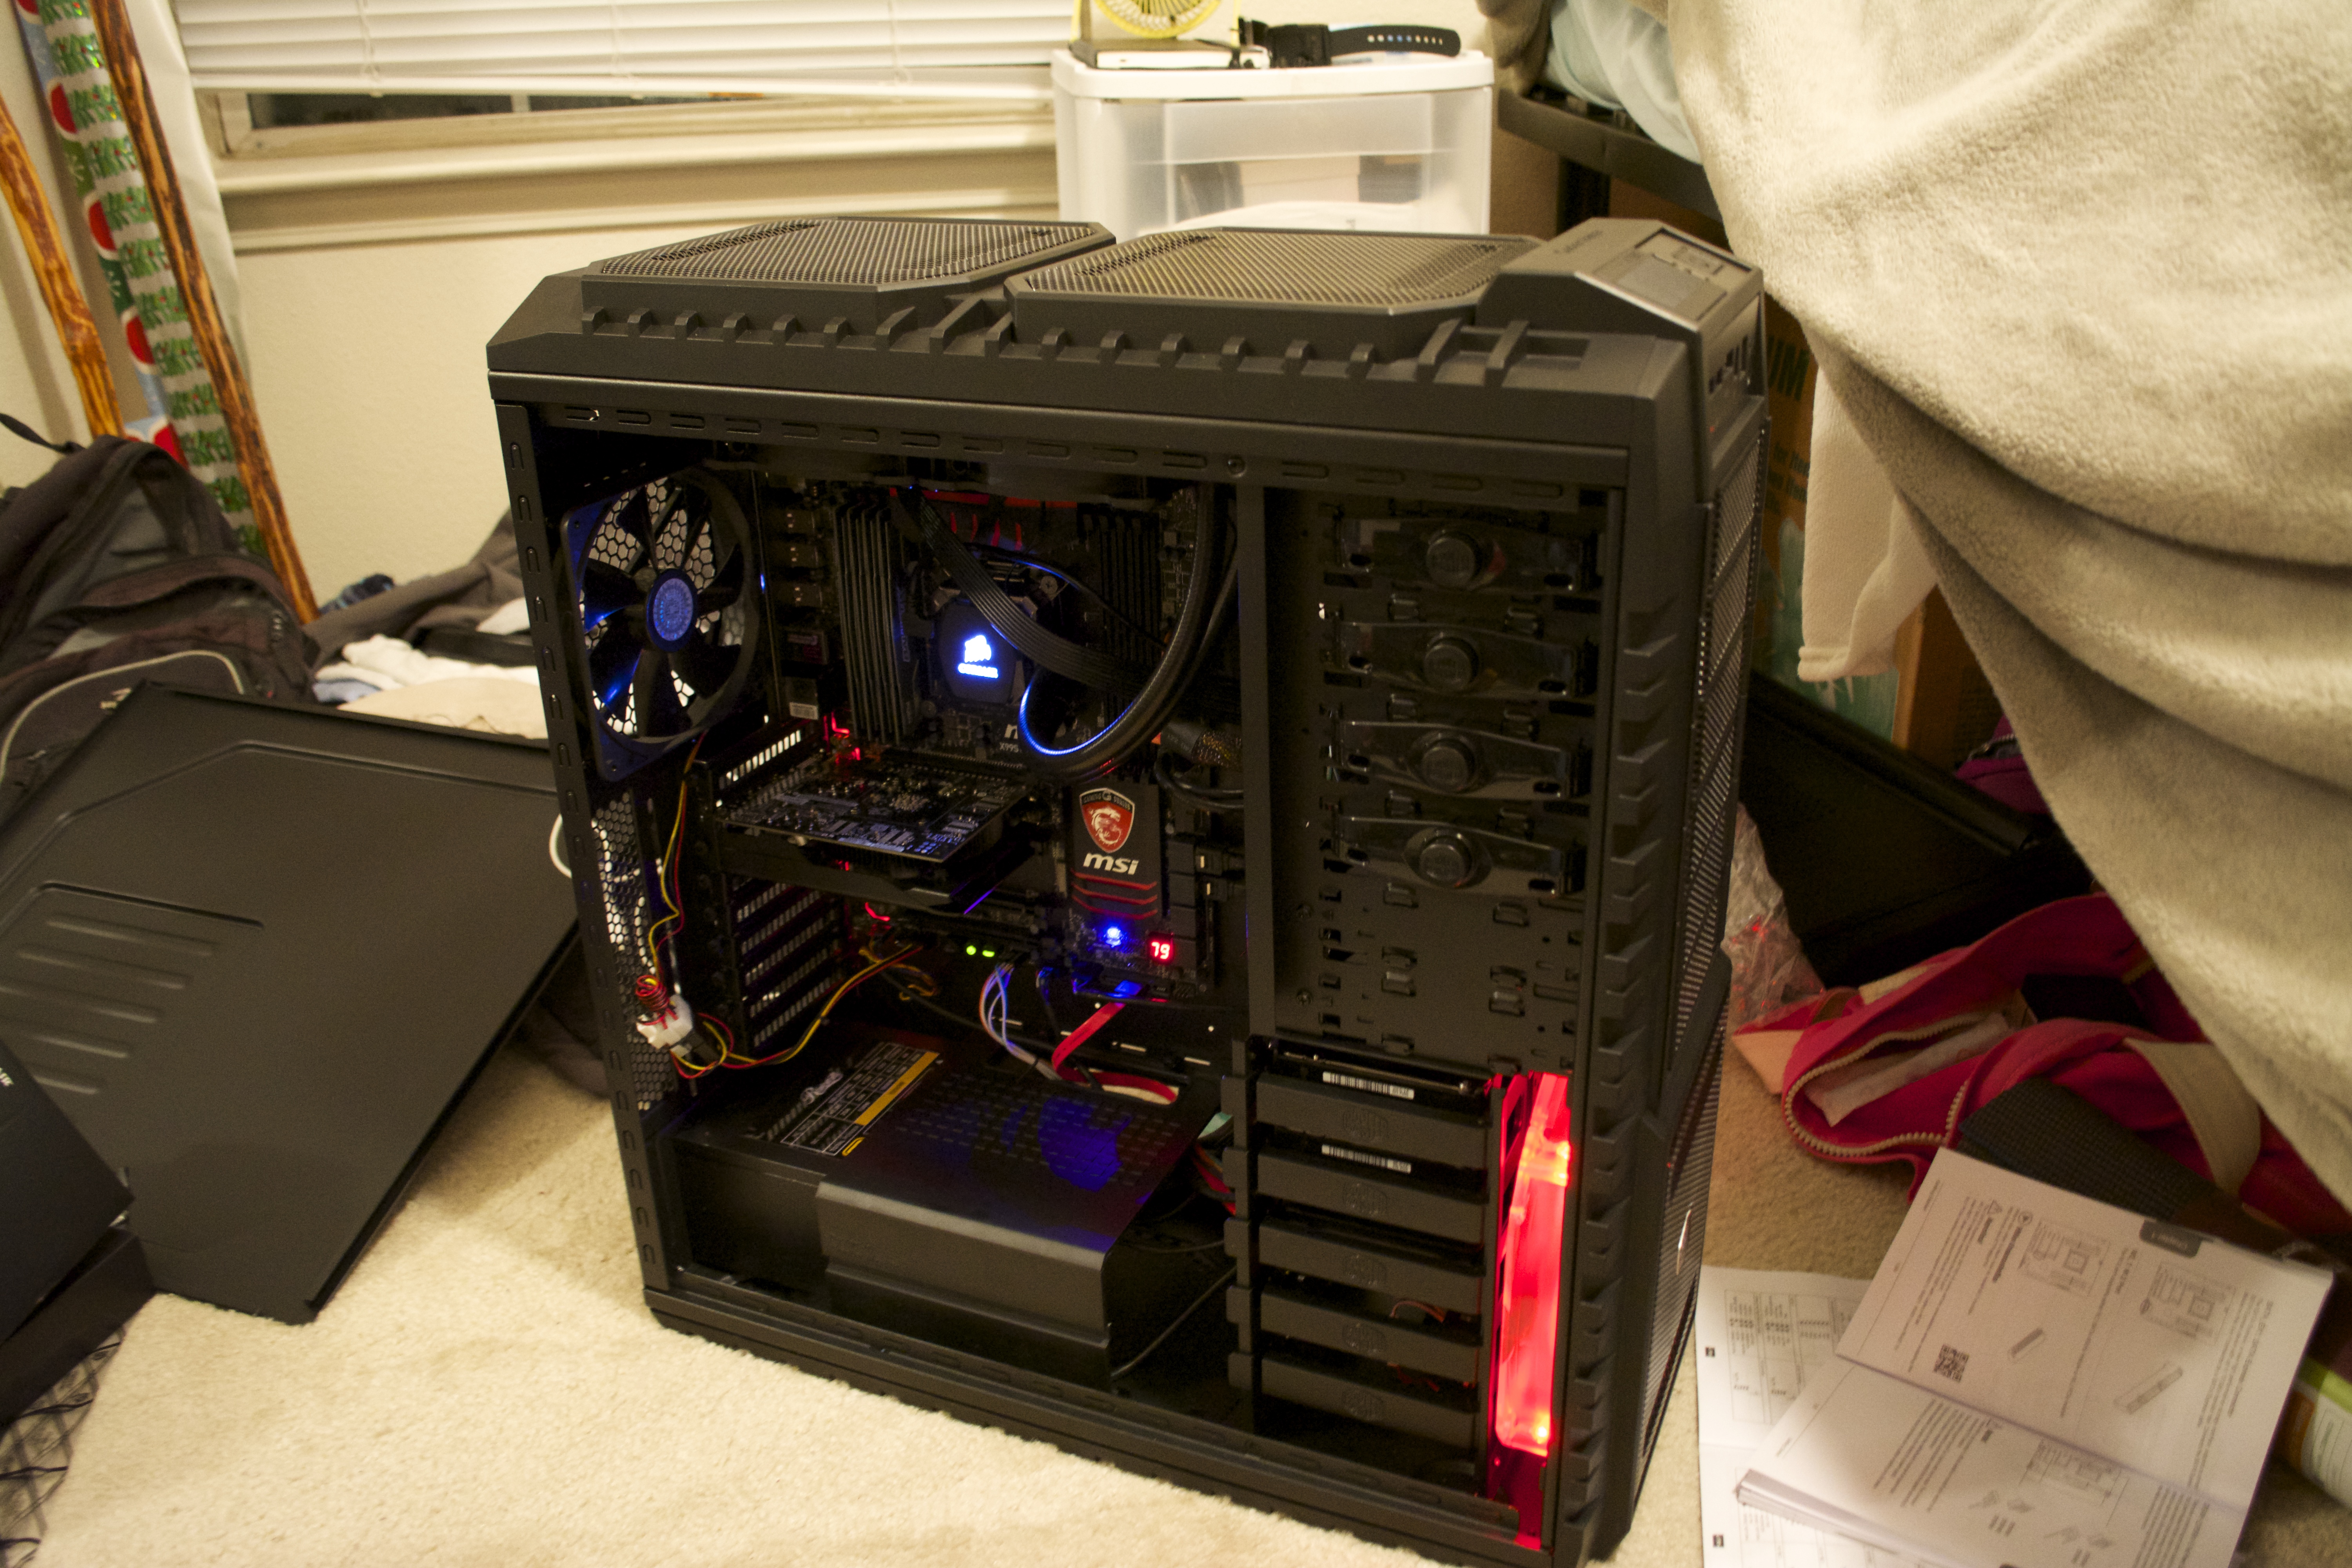
- Case: Cooler Master HAF X – Full Tower Computer Case with USB 3.0 Ports and Windowed Side Panel
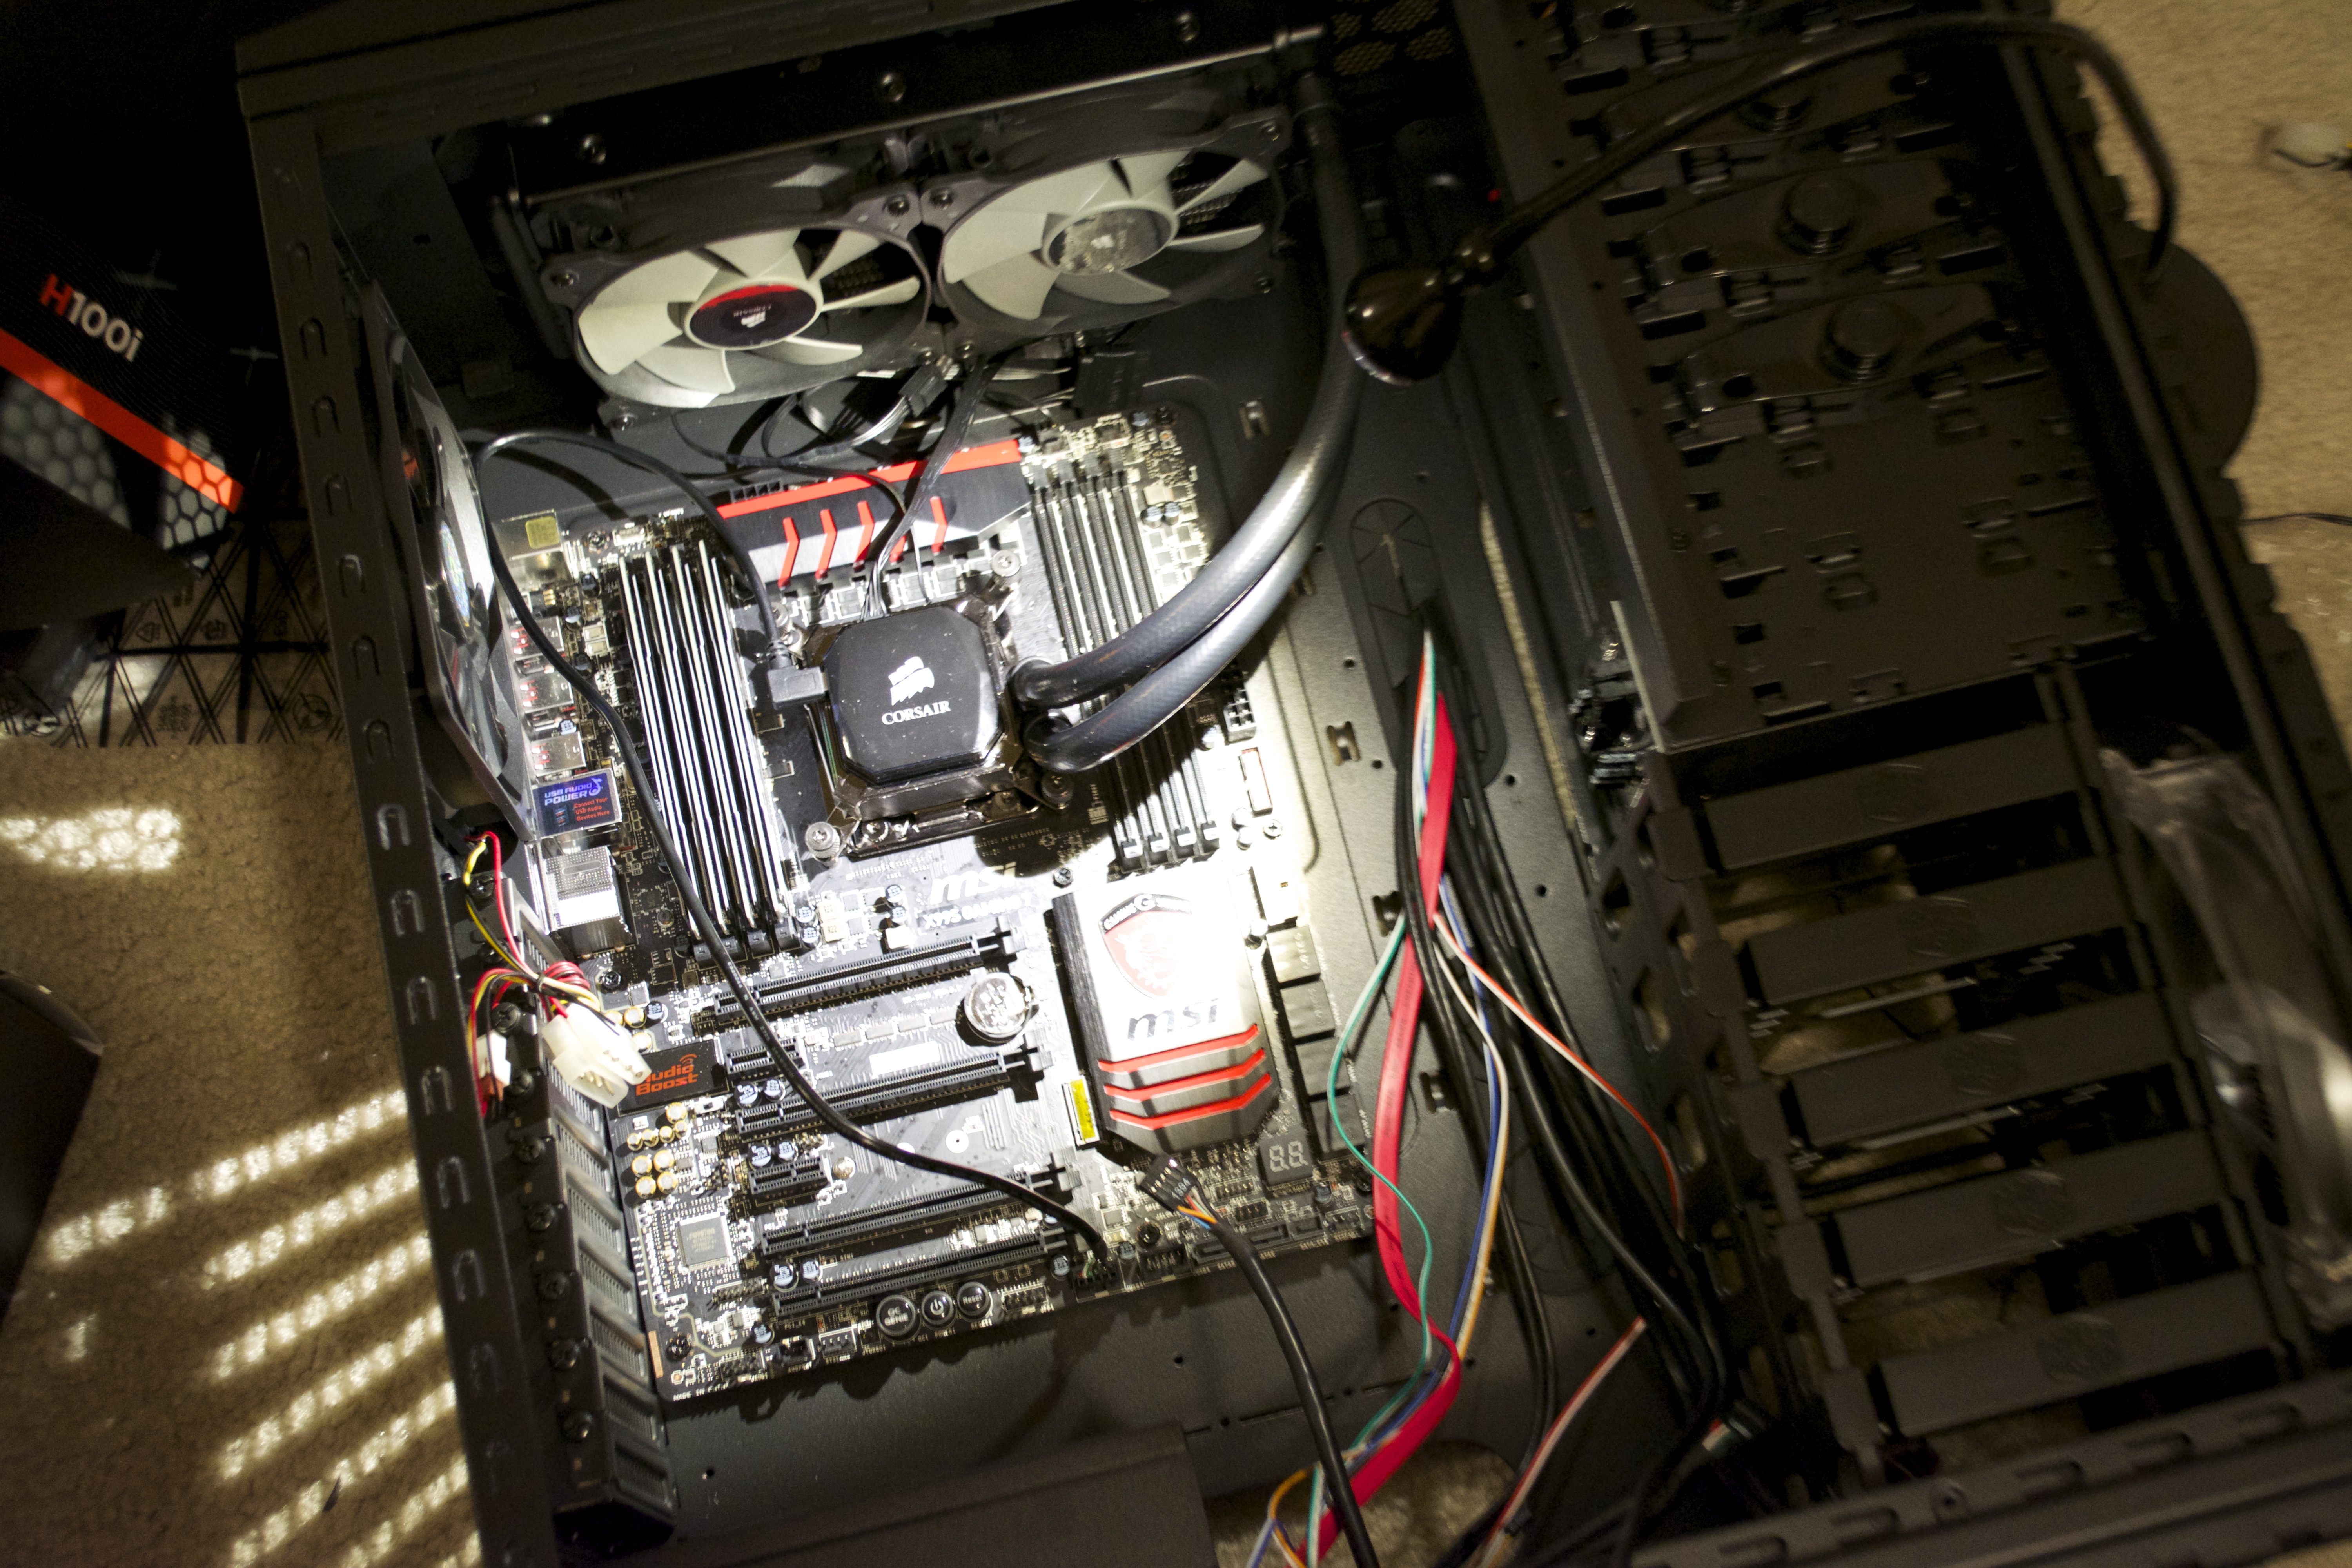
- CPU Cooler: Corsair H110i GT 280mm Extreme Performance Liquid CPU Cooler
I felt it was the biggest “bang-for-the-buck,” it enabled future expansion of space if I decide to convert my computer over to a server model (i.e. lots of hard drives). It also came with plenty of slots to hold the hard drives (so I didn’t have to purchase more), space to place cords, fans/air vents, and USB 3.0 slots and even a eSATA.
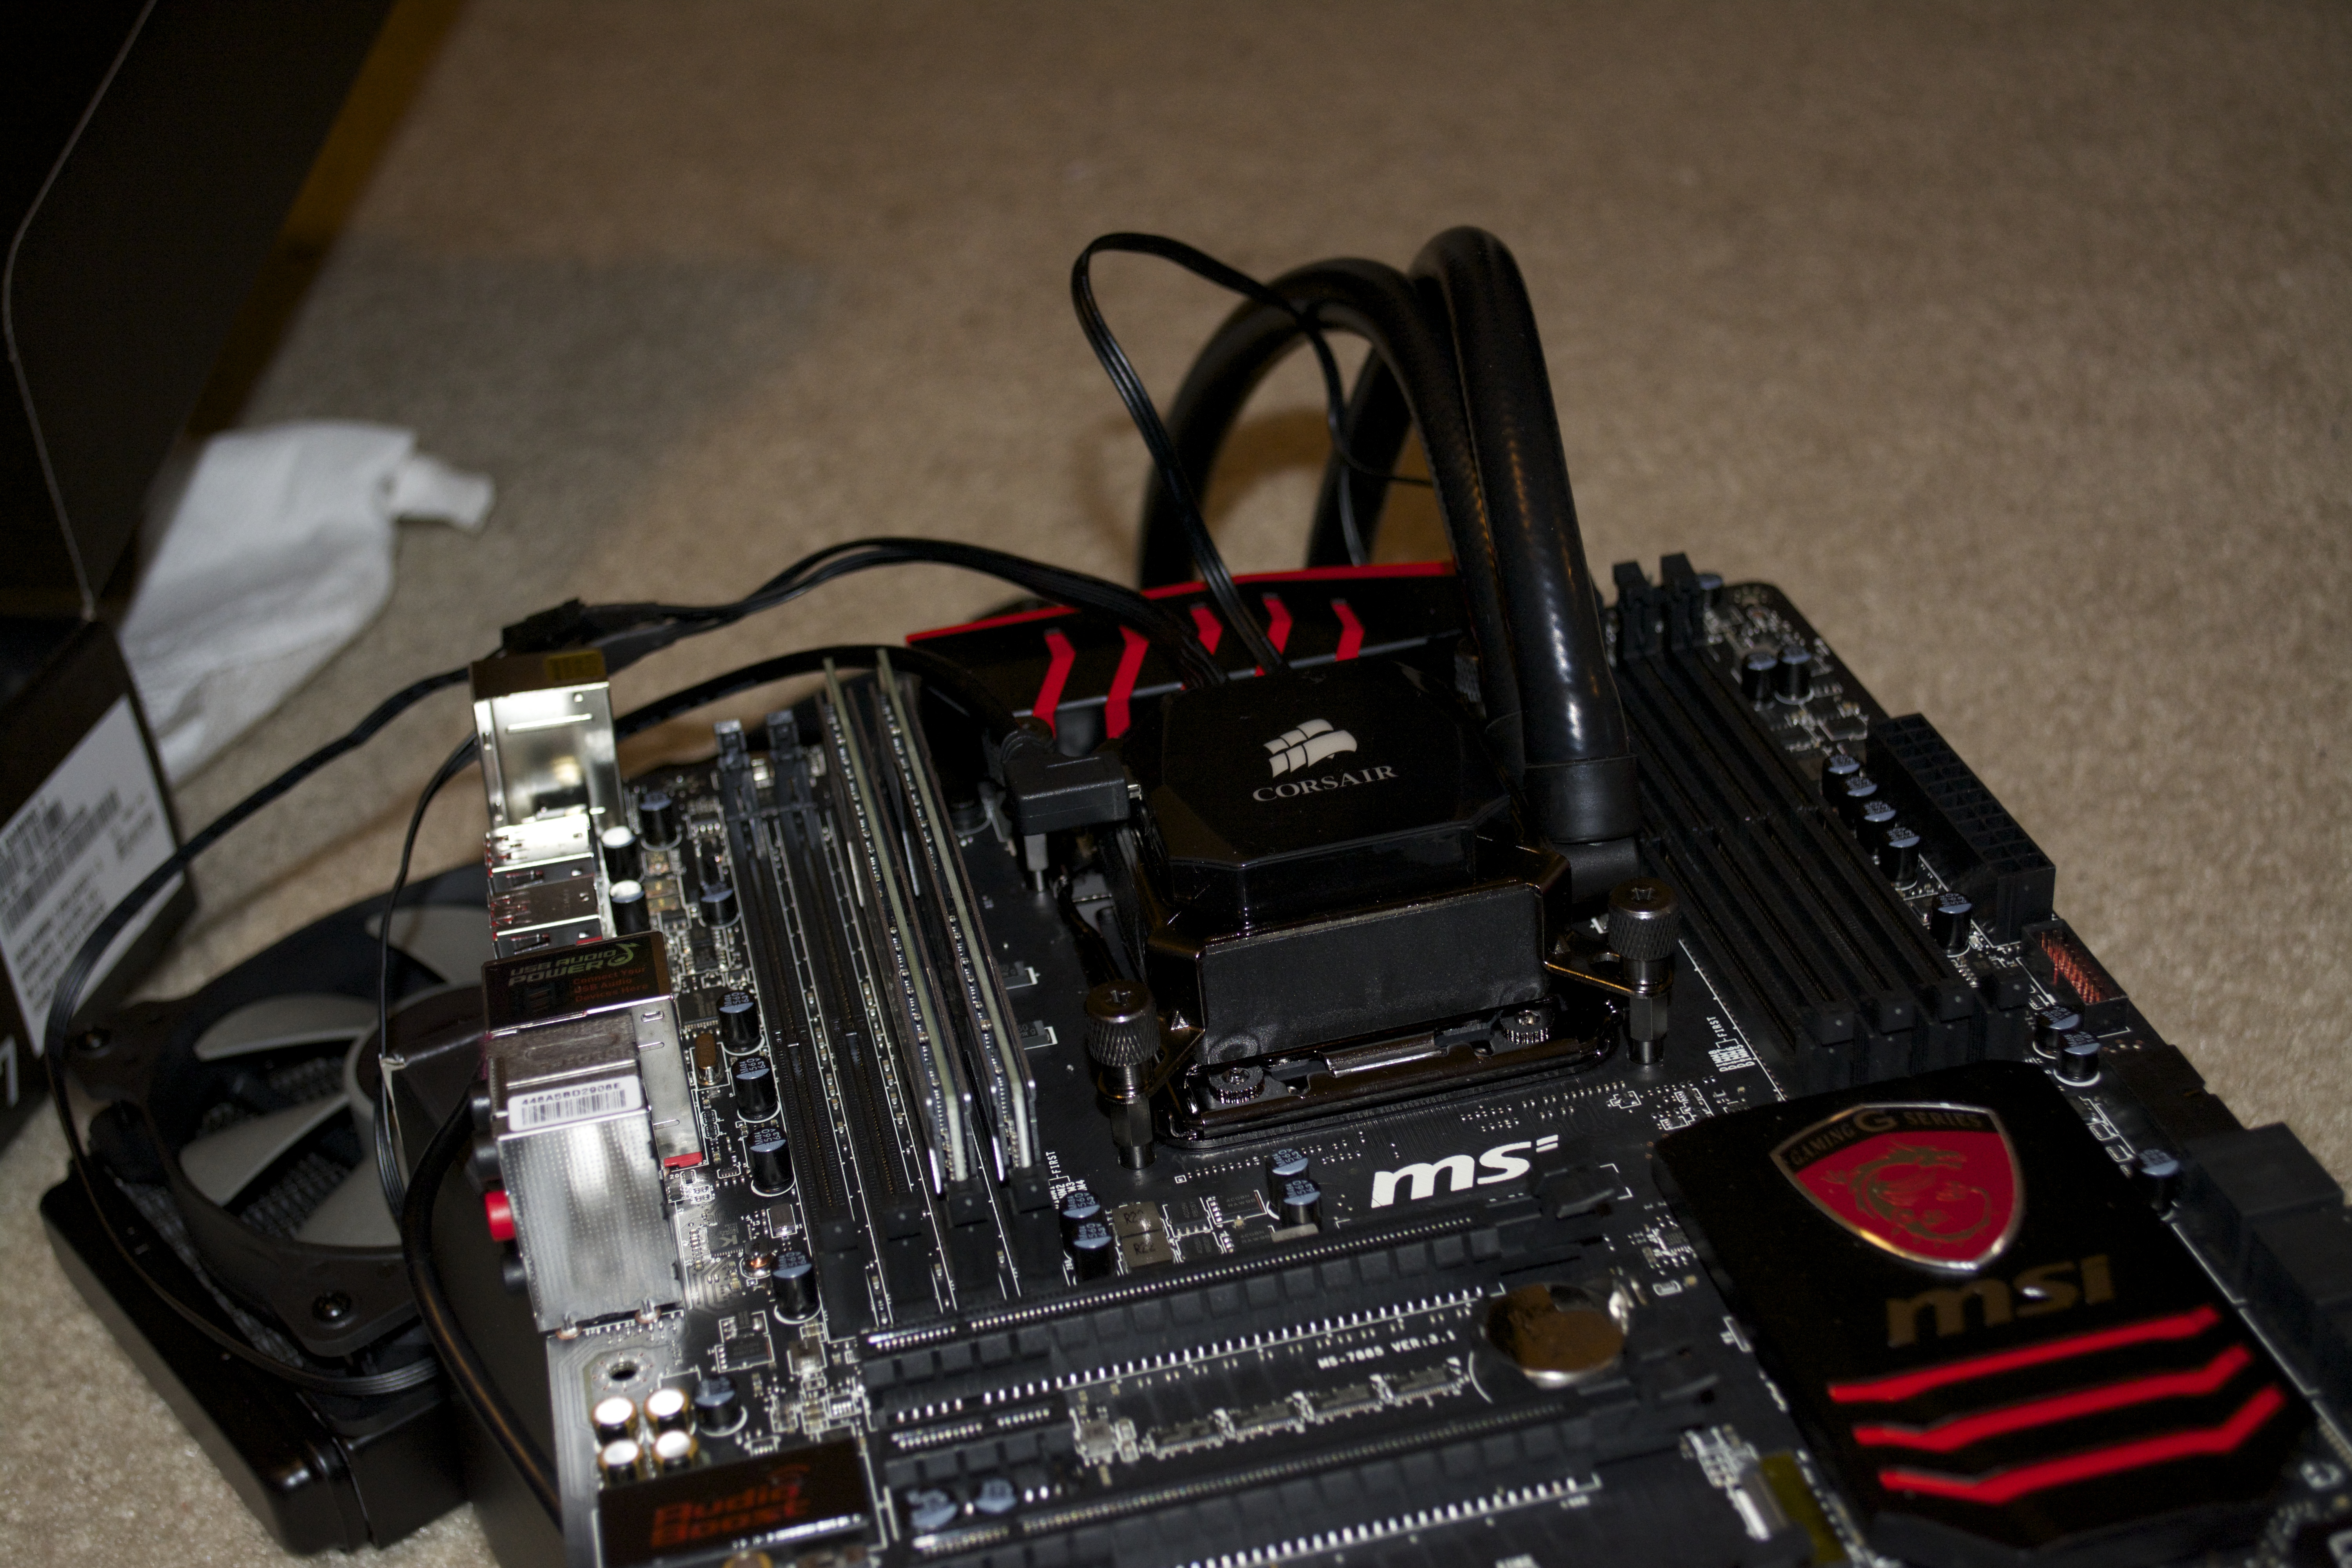
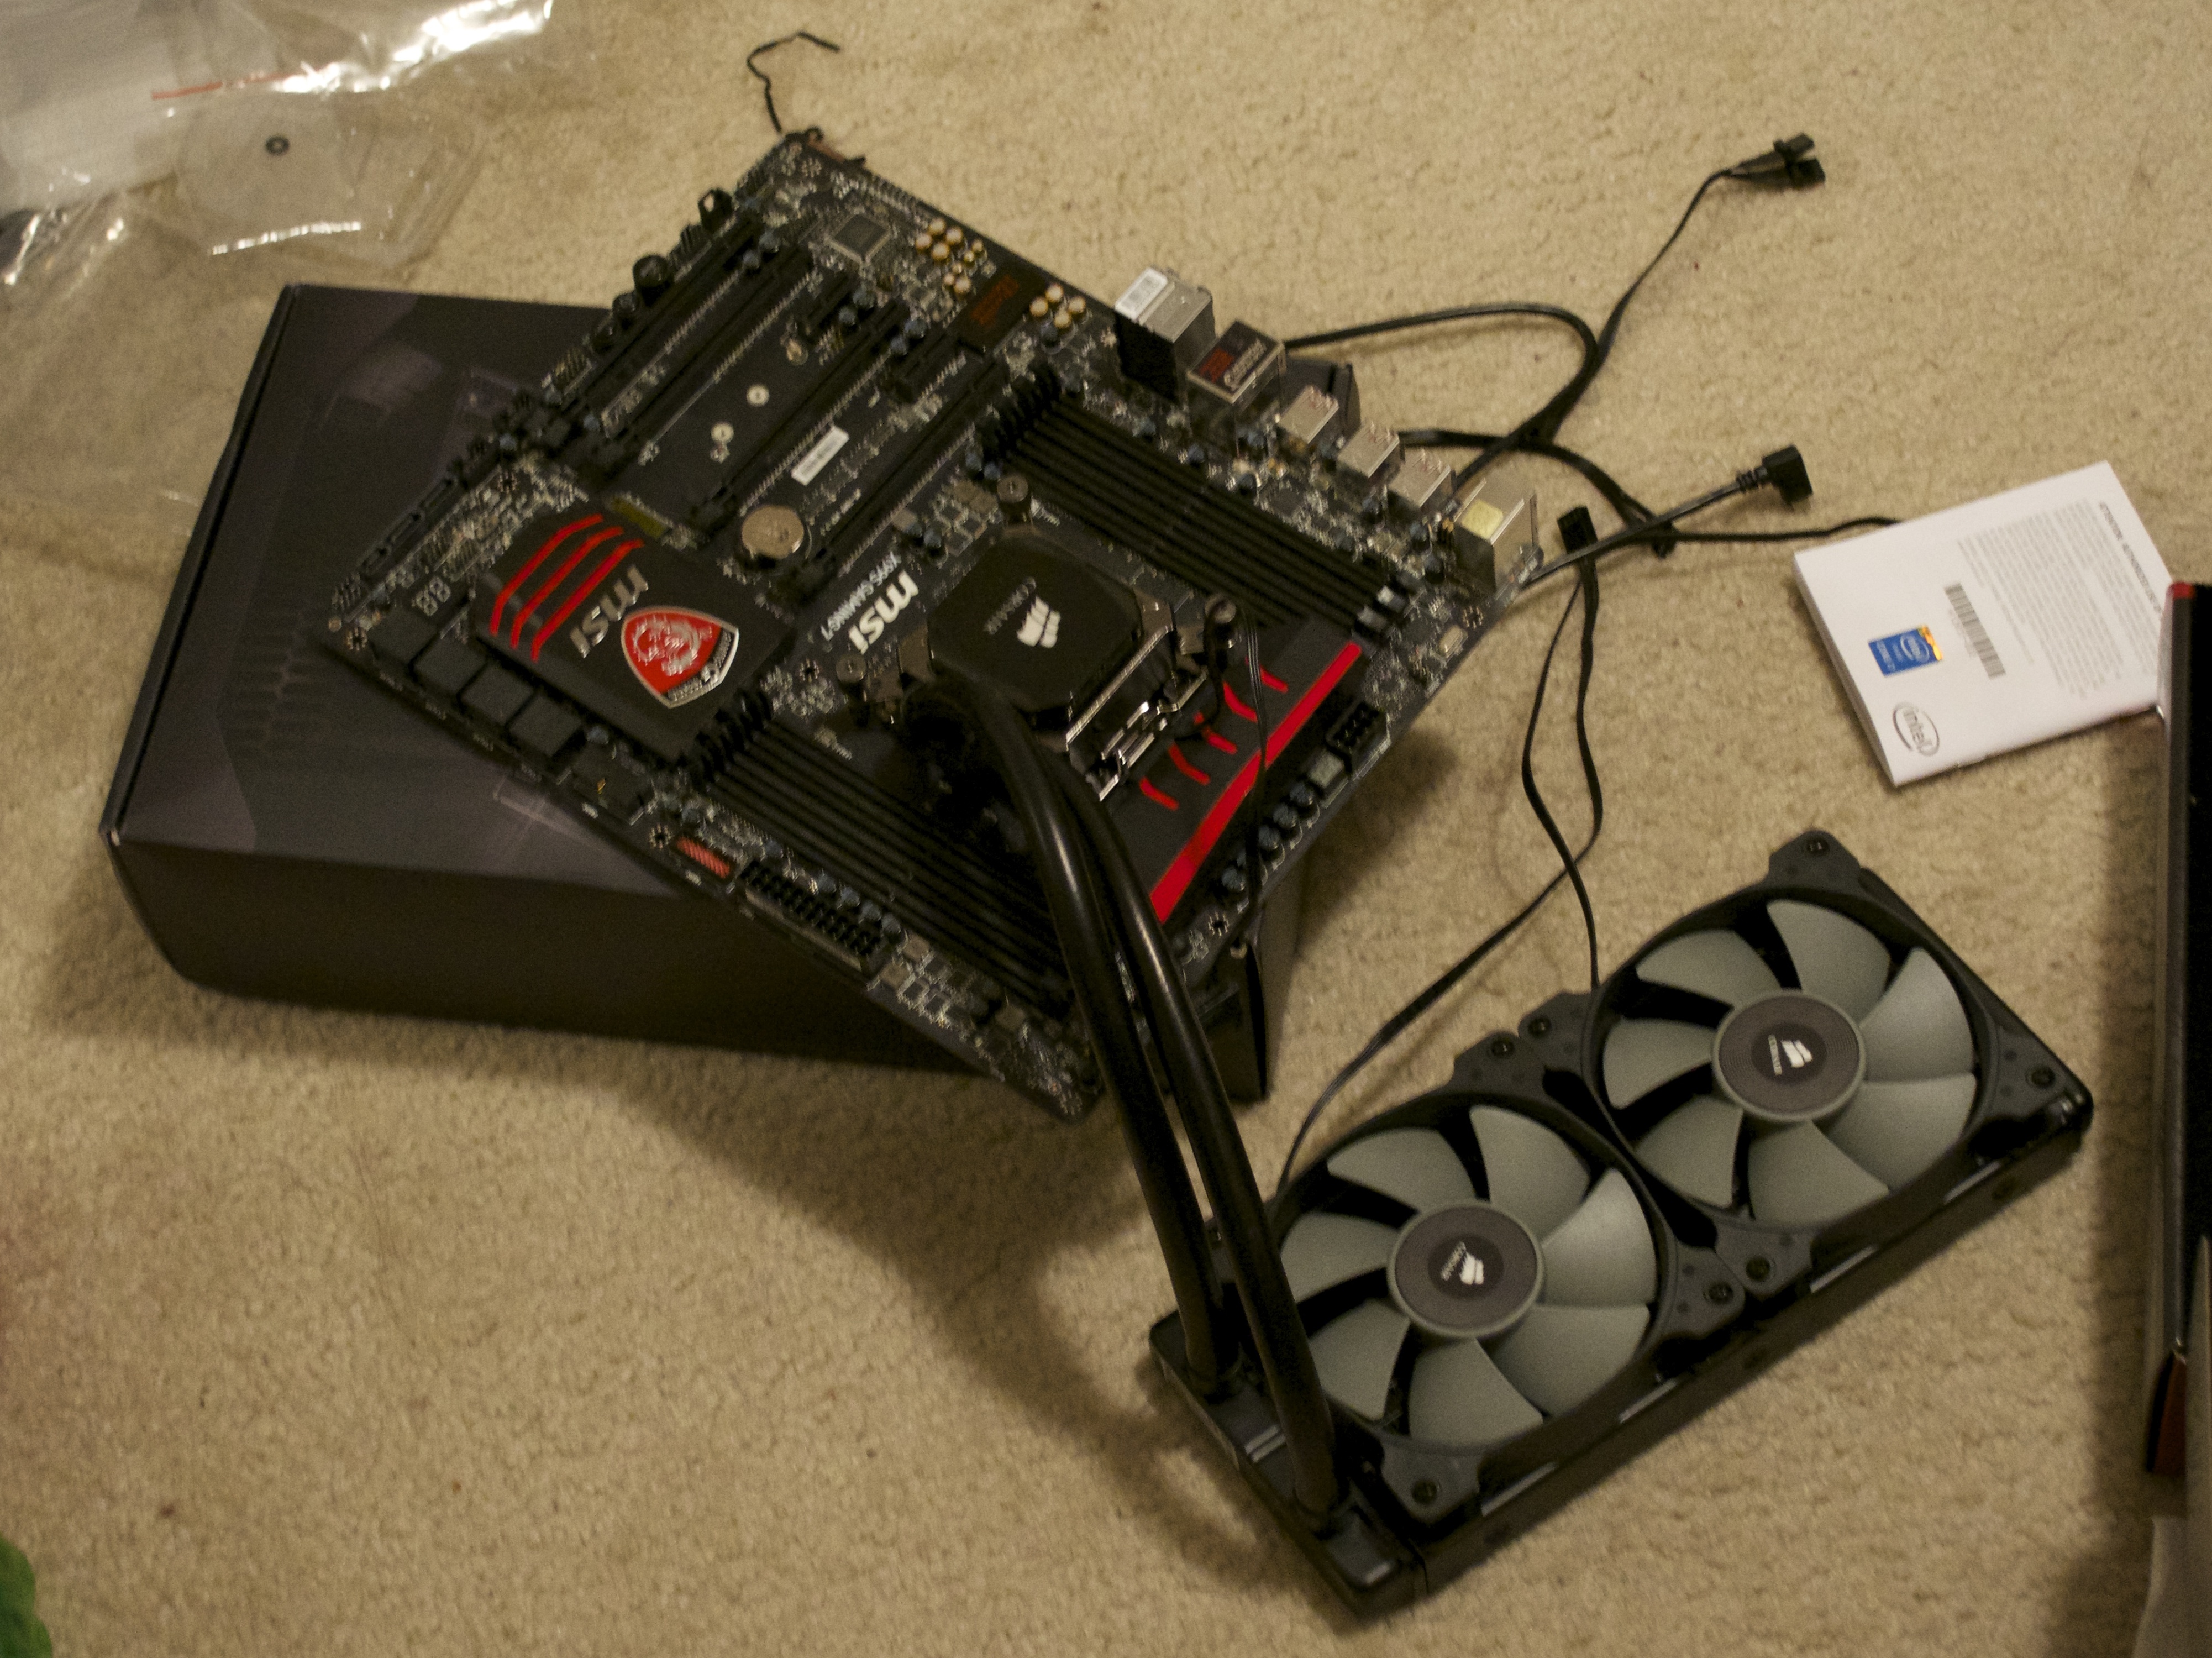
The CPU cooling system I went with was liquid cooled. In all honesty, I was not looking for a hydro system, however it was the first thing I could find that fit the slot, and I just went with it. The CPU cooling system fit perfectly in the computer case, as did all the parts so I was happy.
Step #7: Putting it Together
In order to put the PC together, you basically just follow the instructions.
First, I put together the motherboard, putting the CPU in, the cooling system, then the RAM all on the motherboard. I then bolted it all into the case. Next, I plugged everything in, bolted in the power supply, attached the hard drives, and plugged the hard drives in.

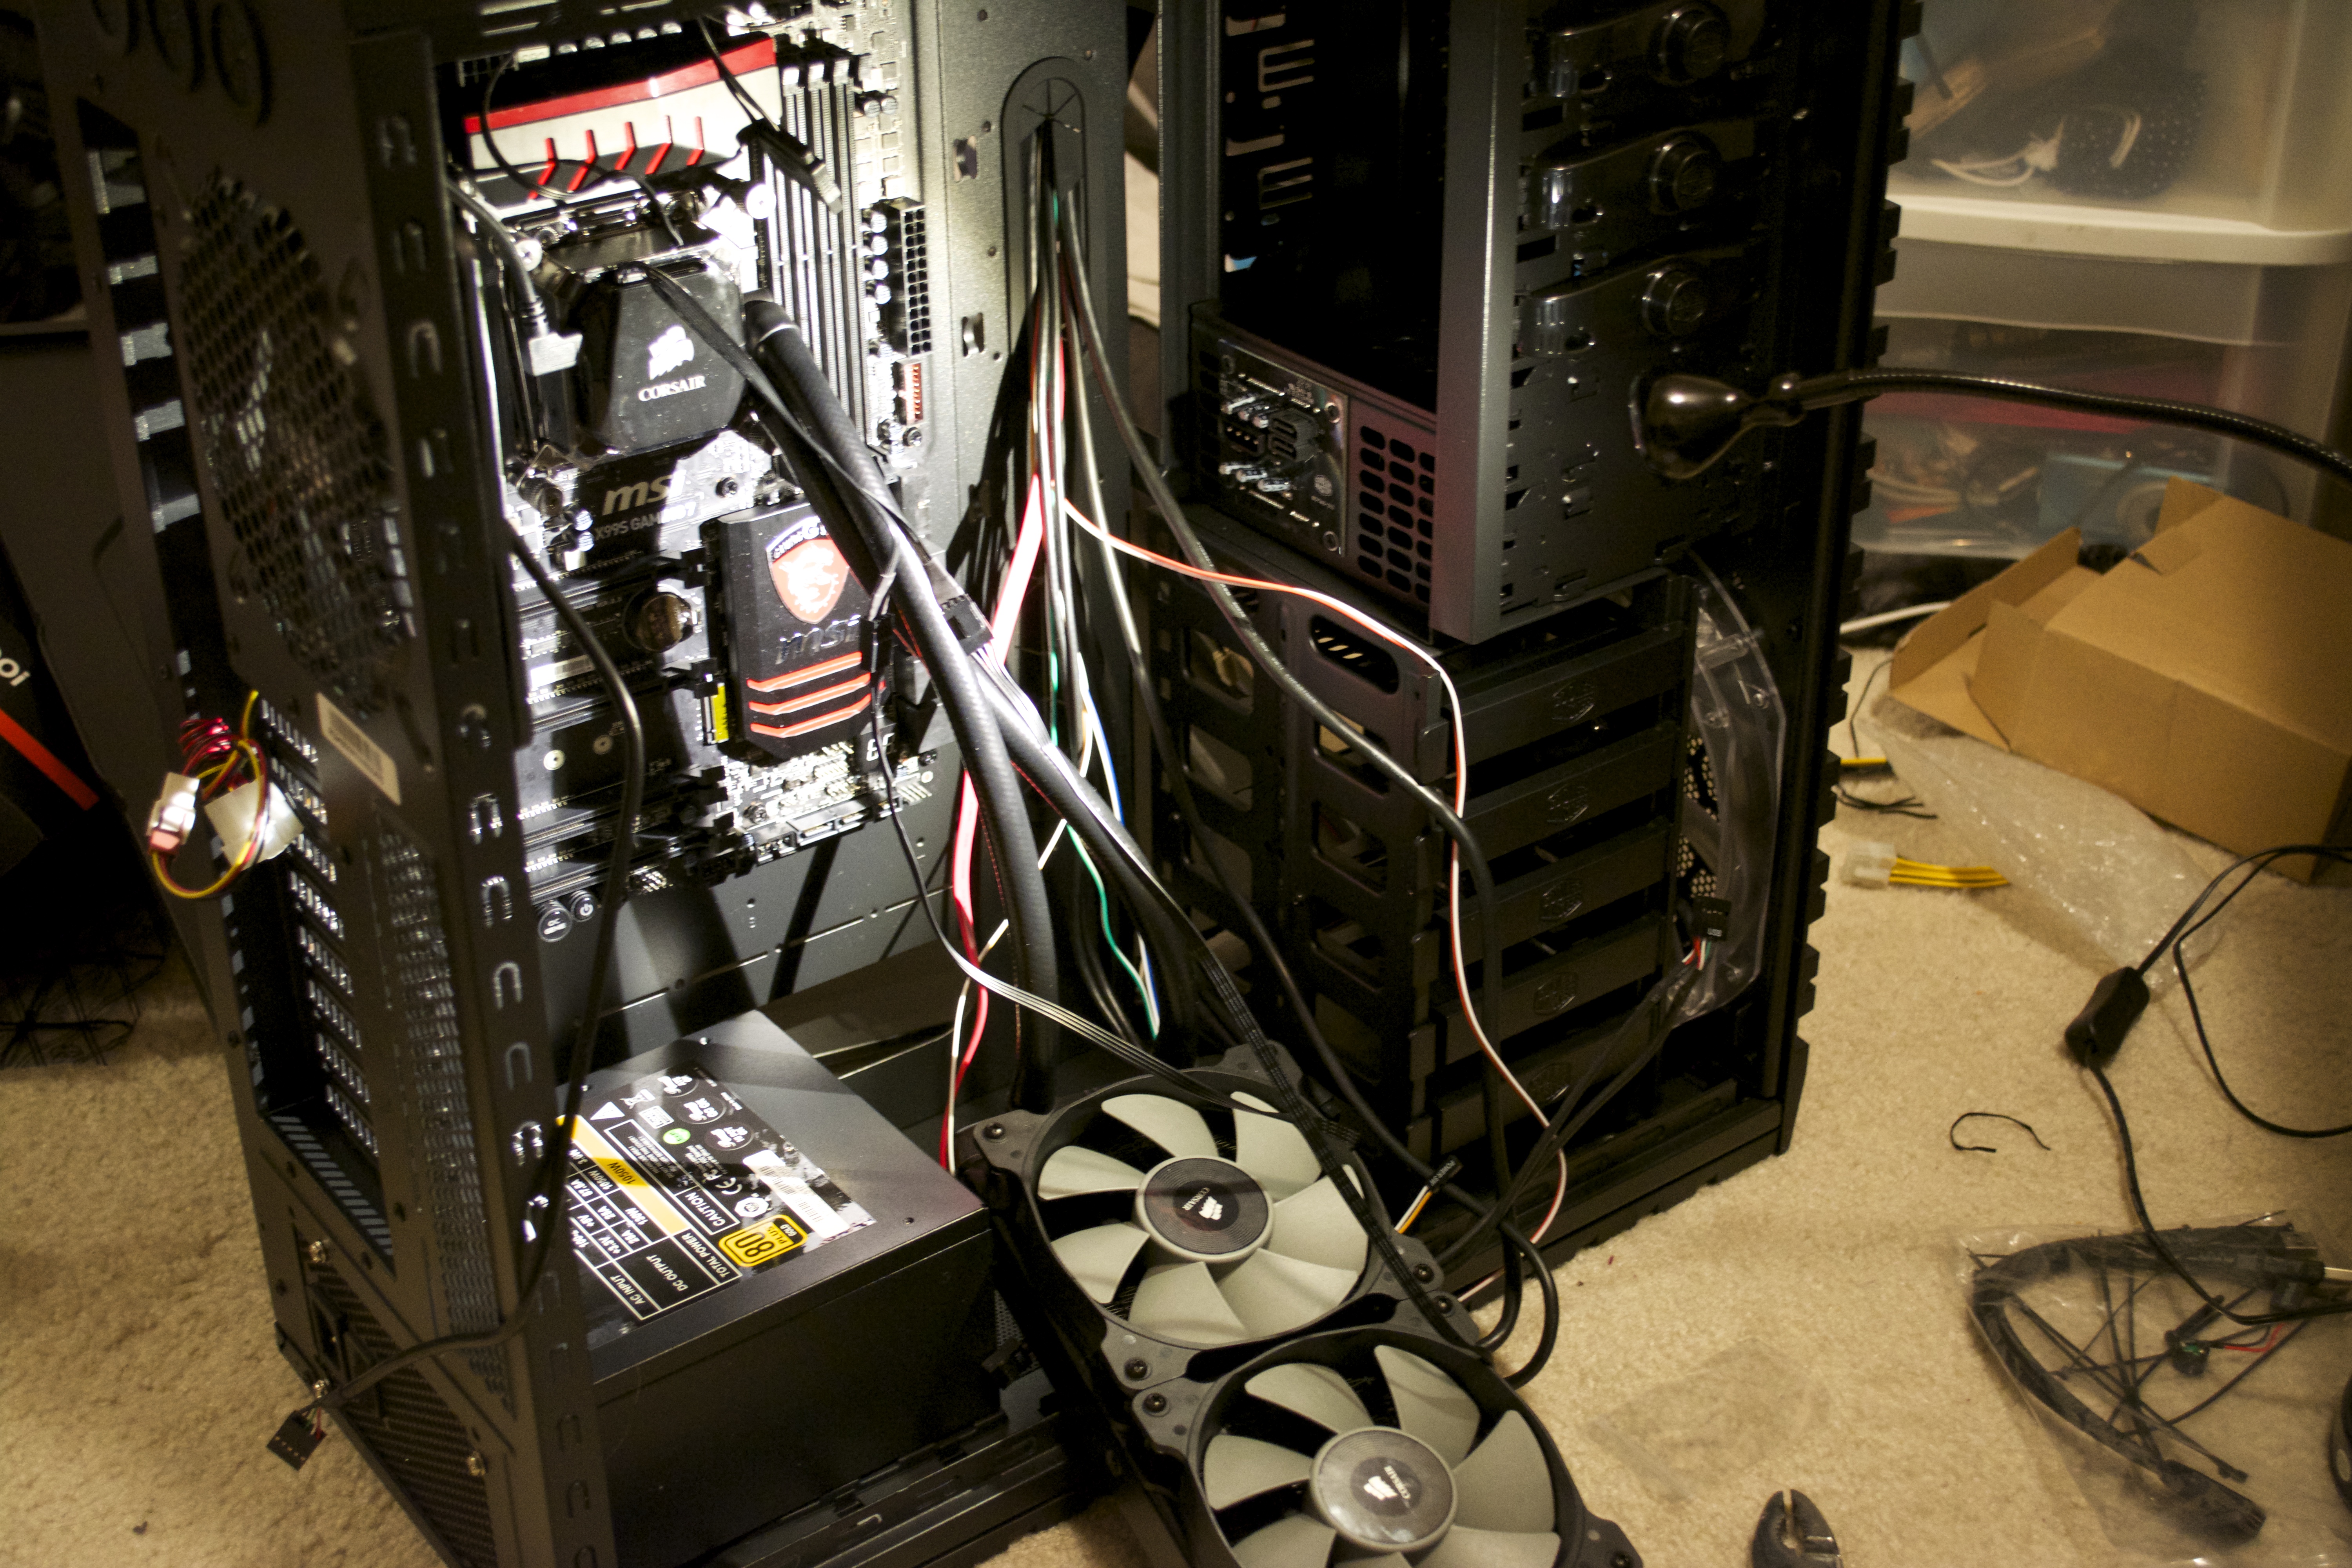
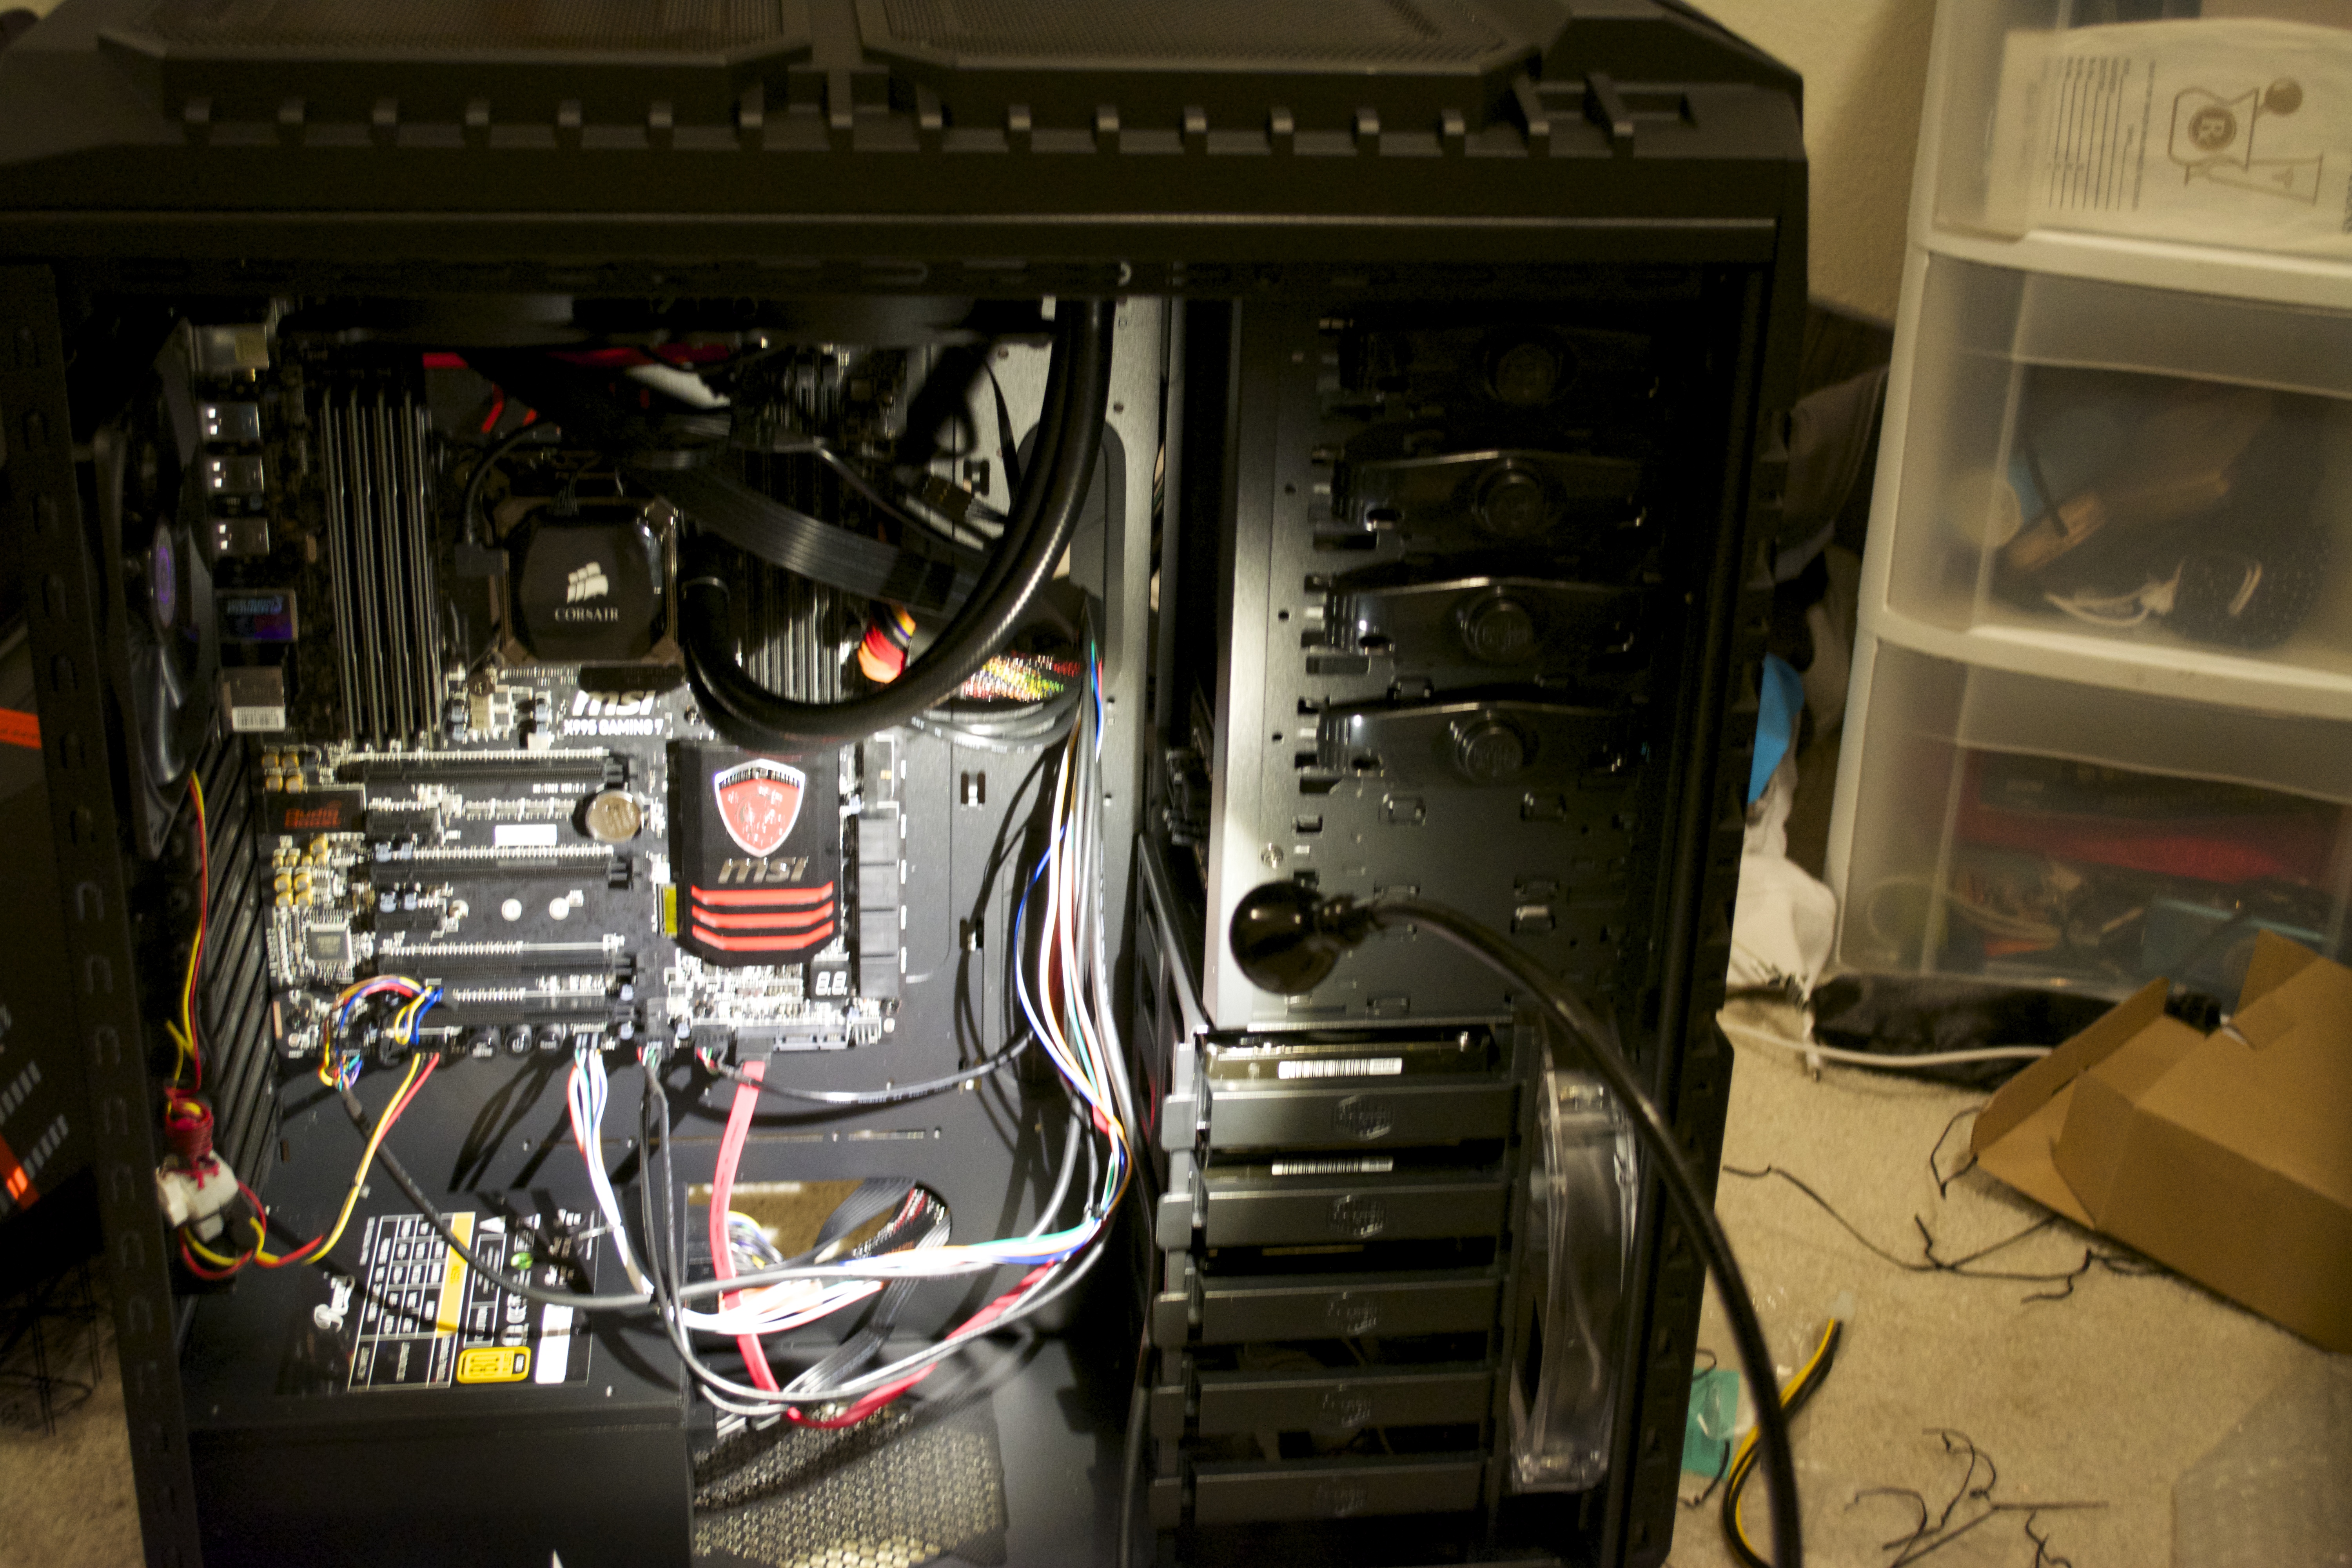
Following installing most of the principle components, I installed the graphics card. Finally, I moved all the cords to make the internals nice and neat, and ensured everything was solidly put together, and checked that it started. It did, then I turned it off, attached the keyboard, mouse and monitor.


Step #8: Operating System Installation
Following the hardware construction, the final step is software installation. Often Linux can be fairly difficult to install depending on the hardware. However, if you consider the software-hardware compatibility when purchasing and constructing your computer this should not be an issue.
Previously, I mentioned that the Qualcomm ethernet chipset was not very well supported by the Debian operating system, so I had to completed the following:
- Download debian 3.17 backports
- $ cd into backport folder
- $ make defconfig-alx
- $ make
- $ make install
- Reboot
The challenge was that I had no internet access during the Debian installation. I therefore downloaded the CD version of Debian installation, and installed the OS. After the installation, I had to boot the computer, install “make” via the CD again, then follow the directions above.
Once I had an internet connection, it worked! All is well and I was set to go!

** I should note that I had an issue with the graphics card and had to set nomodeset after installation. Then once I had an internet connection I installed the driver, and turned off nomodeset.
Comparison
I felt it would be interesting to compare my old and new build, just for kicks. It’s interesting to see how much 4 years and a few hundred more dollars can get you, but it’s pretty astounding.
| Computer Build Comparison | 2011 Computer Build | 2015 Computer Build |
|---|---|---|
| Cost | $1,000 (after fire) | $1,750 |
| Processor Cores | 4 (8 hyperthread) | 6 (12 hyperthread) |
| Processor Speed | 3.4GHz | 3.5GHz |
| L2 Cache | 4 x 256KB | 6 x 256KB |
| L3 Cache | 8MB | 15MB |
| RAM (Amount) | 8 GB / 32 GB (Max) | 32 GB / (128 GB (Max) |
| RAM (Speed) | DDR3 1333 | DDR4 2400 |
| SSD | None | 250 GB (540 MB/s) |
| Hard Drive | 1 TB (118 MB/s) | 2x(3 TB) (148 MB/s) |
| SATA Slots (6GB/s) | 2 | 10 |
| Graphics Card (RAM) | 512 MB | 4 GB |
| Graphics (Graphics Speed) | 650 MHz | 1050 MHz |
| Graphics (Memory Speed) | 900 MHz | 7000 MHz |
| Computer Case | Medium ATX | Full ATX |
In other words, the increases in power/speed was crazy from 2011 to 2015 (along with additional funds):
- Cost: 175%
- Processing Power: 154%
- L2 Cache: 0%
- L3 Cache: 188%
- RAM Speed: 180%
- RAM Amount: 400%
- SDD Storage Speed: 458%
- HDD Storage Speed: 125%
- HDD Storage: 600%
- GPU Memory Amount: 800%
- GPU Speed: 162%
- GPU Memory Speed: 778%
Thank god for Moore’s Law!