
Making a product demo on your landing page can lead to significant conversions. Unfortunately, this can be challenging as the demo has to be quick to load (i.e. small) and robust to the various browsers.
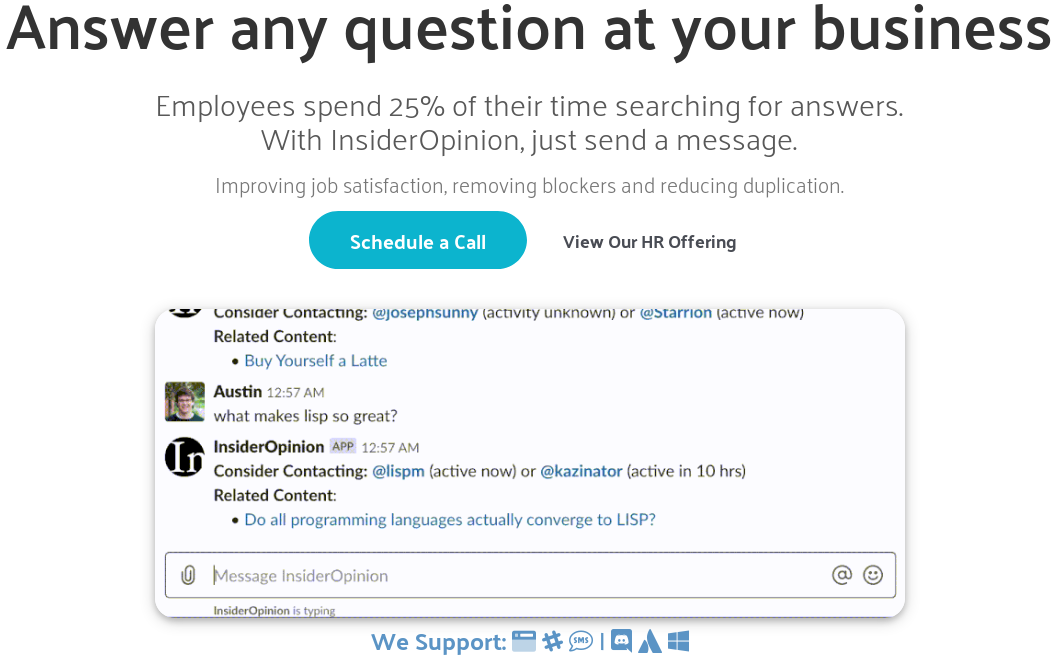
In this post I’ll cover some of what I did to create the landing page for InsiderOpinion.com (which, you guessed it, has a product demo).
 Screen Recording
If you’re reading this article, you’re likely trying to sell some software. To create a software product demo you’ll need to do some screen recording. There are a few options for this, I use QuickTime on a Mac preferably, as the quality is very high. On Linux I use SimpleScreenRecorder, which is easy enough to use and the quality is decent.
What I’d recommend here, is taking no-more than a one minute video. This will keep the file relatively small. For example, the 51 second video below was recorded on my Mac and is 8Mb (.mov) from QuickTime, and 1.1Mb when exported as .mp4.
This then gives us opportunity to shorten the video, to speed up the typing, shrinking the file size.
Speed up your demo video
The next thing to do is speed up your demo video. You want it to be a decent pace to keep peoples attention, it will increase conversion (not too fast). As an added benefit, speeding up your demo will also likely reduce the video size.
This is accomplished by changing the Presentation TimeStamp. For instance, the example below would speed up the video by ~40%:
This makes our video much faster (I used 0.55*PTS) and smaller (770Kb, down from 1.1Mb):
Unfortunately, 770Kb is still a bit large for our purposes.
However, if we converted the quicker video directly to a GIF we’d get something that is larger (932Kb).
Converting Video to GIF
Converting a video is as simple as using a command such as:
The command above, takes the input video and only makes 8 frames per second. However, as stated that’ll produce a GIF around (932Kb) in our case. That’s not really much better than the mp4. There are things you can do to try and improve this, and if you search the internet, you will find some examples.
Reducing an GIF size
For us, I’d just recommend using gifsicle to reduce the color palette:
Theoretically, this will make your GIF look a little worse, but not too much in reality — I’ll typically set the “–colors” option to 64.
This reduces our prior GIF (932Kb) to a smaller GIF (758.7Kb).
For reference, you can export the color palette yourself via the following command(s):
The final thing I’ll do, is look at my GIF on the landing page. What’s the max size it can be? The current GIF is 1212×504 pixels, is that really the size GIF you need on your webpage? I made the decision to shrink my GIF by ~25% to 900×376. This reduced the size of the GIF accordingly (450 Kb).
The output is still high quality, but less than half the original size (932Kb to 450Kb):
Reducing an mp4 size
The next step is also reducing mp4 size.
Unfortunately, not all browsers (looking at you Safari) support playing mp4 and webm formats, which can dramatically reduce the size. Meaning, we should create the GIFs, because well we need to. That being said, you can get files much smaller with mp4 and webm files.
For example, the .mp4 video below is 218Kb (converted from the 450Kb GIF above):
It works by converting the GIF to an H.264 format, which has a ton of optimizations to reduce it’s size.
The primary way you alter the video here, is by altering the CRF or Constant Rate Factor, best explained here. The video above had CRF set to 35, if we set it to say, 41, we get the following very small video file (132 Kb):
Personally, at that point we start losing some serious quality, but it is 9x smaller.
Now, what if we had just shrunk the size of this mp4 in the first place (not done the GIF conversion)? Turns out the size reduction itself (to 900×376) brings a lot of the benefit (769Kb mp4 to 518Kb mp4). We can further reduce the size with CRF as well:
In my opinion, the mp4 above looks much better than the GIF conversion. The code is pretty simple:
Converting to webm
The final step, is converting one of our files to webm. Often this can be the best option.
In our case, we’ll take our original mp4 first and try to create a small webm file:
The video output is indeed smaller than the original, but probably not small enough (650Kb):
This is where our GIF can come in handy, converting from the GIF can bring down the size:
Quality is still fairly high in my opinion and at this size (158Kb) it’s a great choice to keep. Probably the winner overall in terms of quality vs size.
Creating a Nice Web View
The next and perhaps most important part is the HTML and CSS to put this all into action!
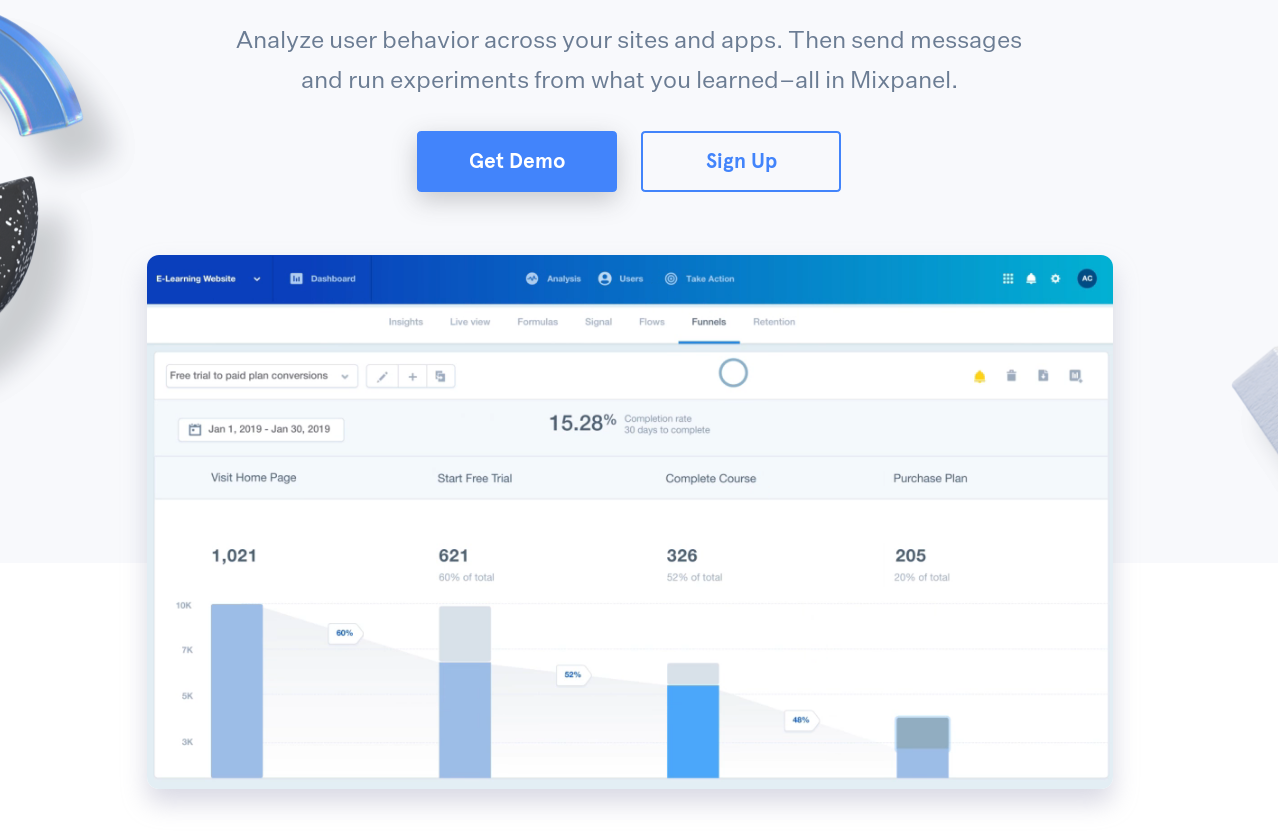
I personally, based my landing page off Mixpanel‘s, as I assume they try to optimize as best they can (they are an analytics company). Their web page had the demo right under their main call to action button, in a window, and it kind of just pops:
 Without looking at their code, it’s fairly straight forward. Take up a portion of the page, centered. However, one thing I did was try to click on their demo video. Well… didn’t work, to me that’s a lost lead! So I wanted to add a link to my demo, as such you’ll see the code in there.
Basically, when someone hovers over the demo video it should fade and a button to actually try the demo should appear:
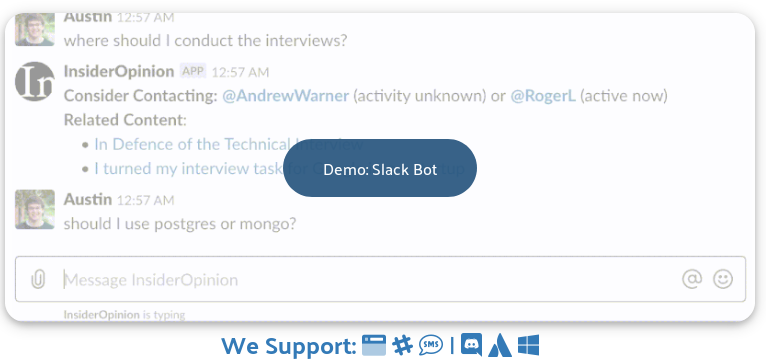
I then added if they click anywhere not on the button, they get a popup suggesting a call for a demo. This is more common on mobile, where I don’t have the button to try the demo pop up.
All that being said, the HTML code is below to make it work for the GIF:
If you want to include the webm which loads faster — but doesn’t work on Safari — you need to use a video tag and can use the following:
Note the “img/poster.png”, that image will be displayed to Safari users, because autoplay isn’t allowed.
Now onto the CSS, is really where the magic is at:
Closing Remarks
If you like the demo window / video, please feel free to use! I find it relays my product(s) much better and has increased conversion, perhaps it will for you as well! If anyone has any suggestions please feel free to leave a comment, I am by no means an expert at ffmpeg.
Pretty useful stuff Austin!